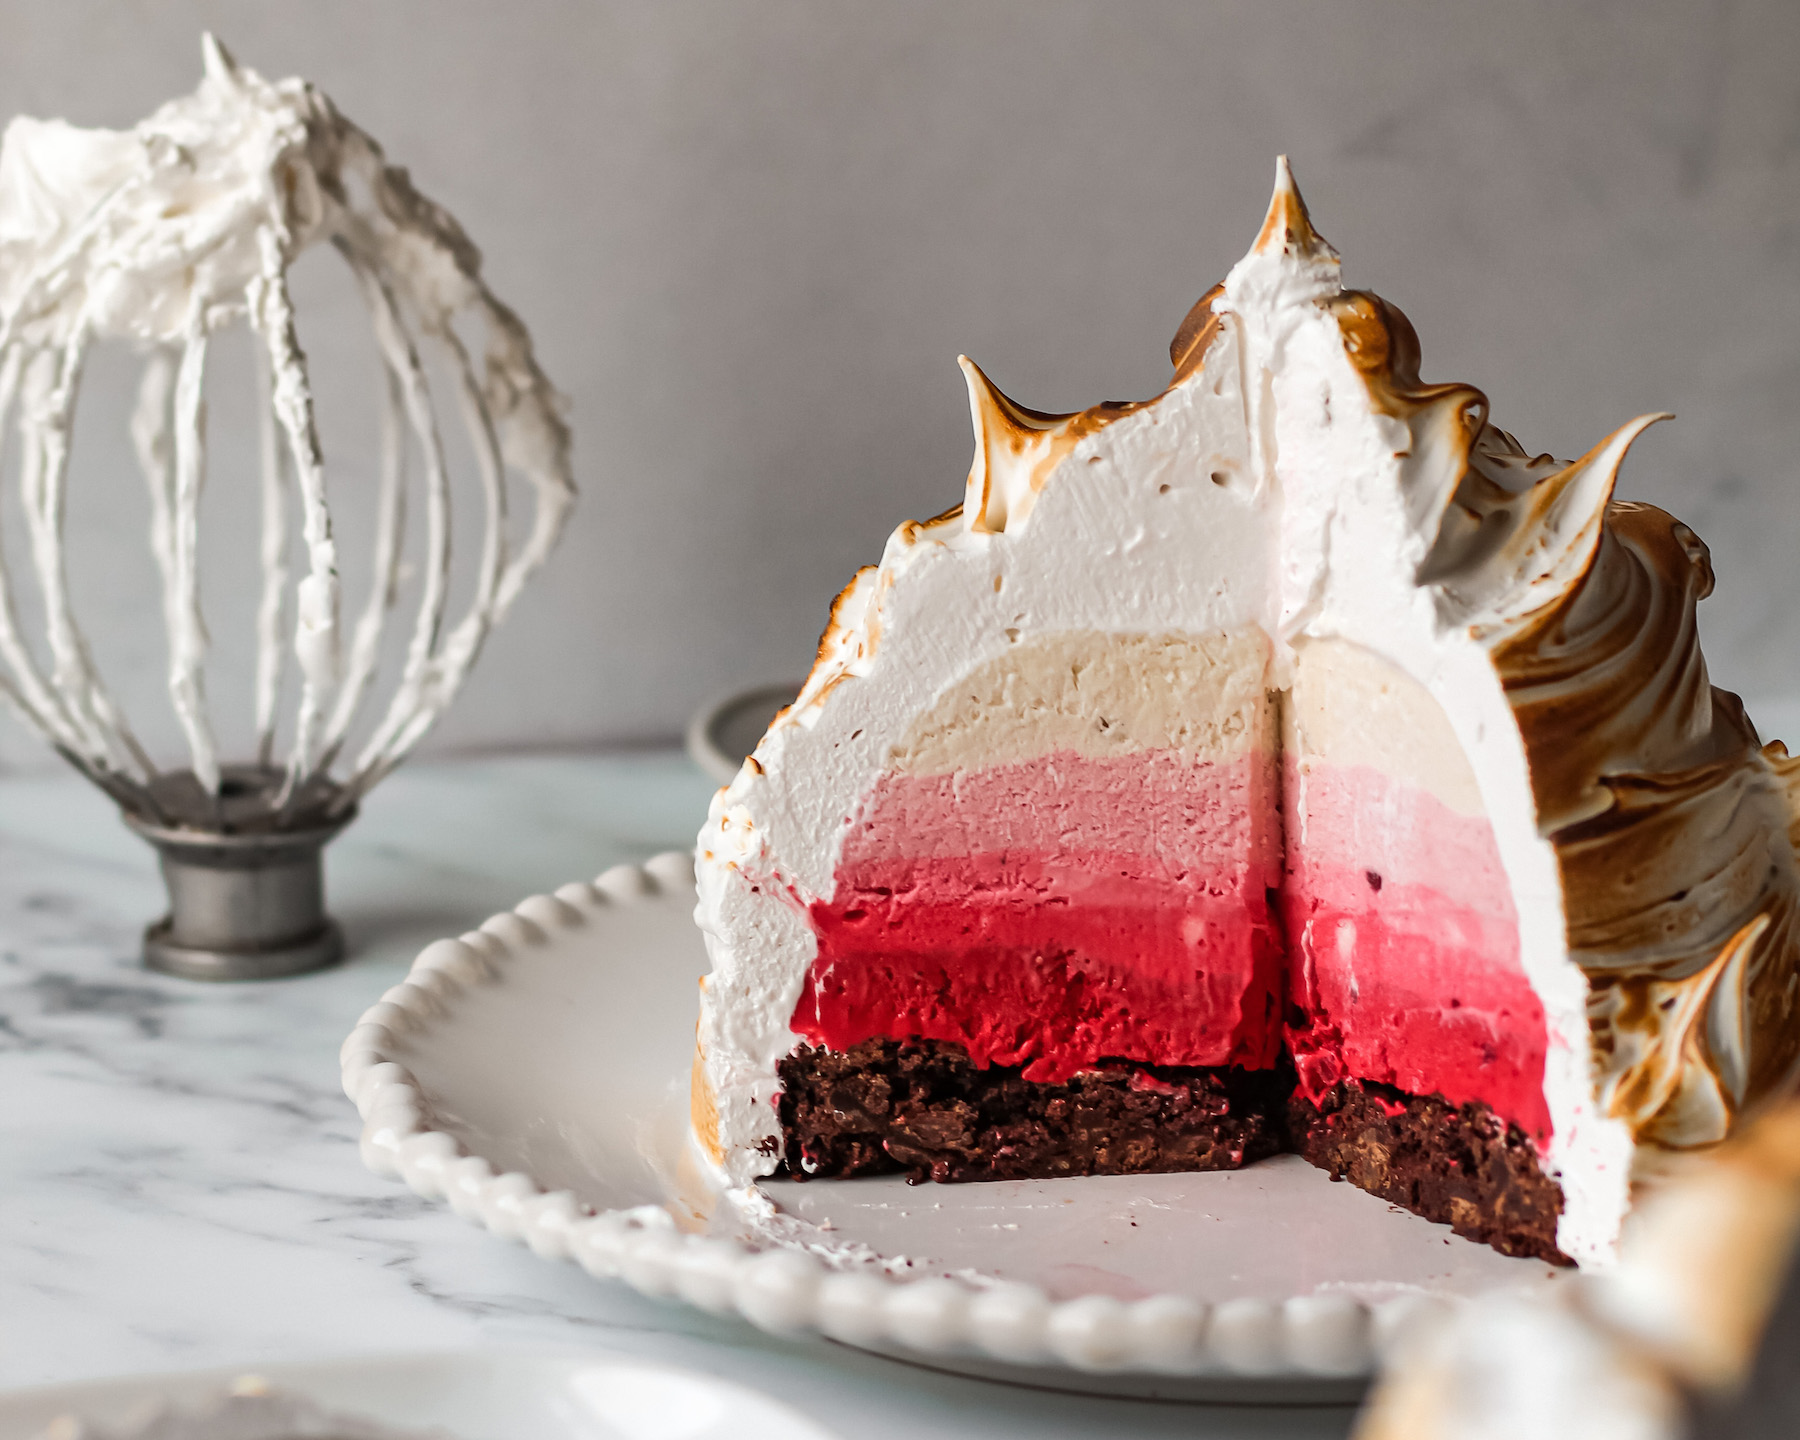
Here is my easy vegan Baked Alaska! The Queen of all showstoppers. This simple, yet delicious vanilla and raspberry vegan Baked Alaska is a guaranteed hit over the holidays and no one will know it’s vegan!
If I’m completely honest, it took me a long time to warm up to this dessert (pardon the pun!) I always saw it as a bit of a gimmick and it made me cringe that you would be putting icecream IN THE OVEN?!
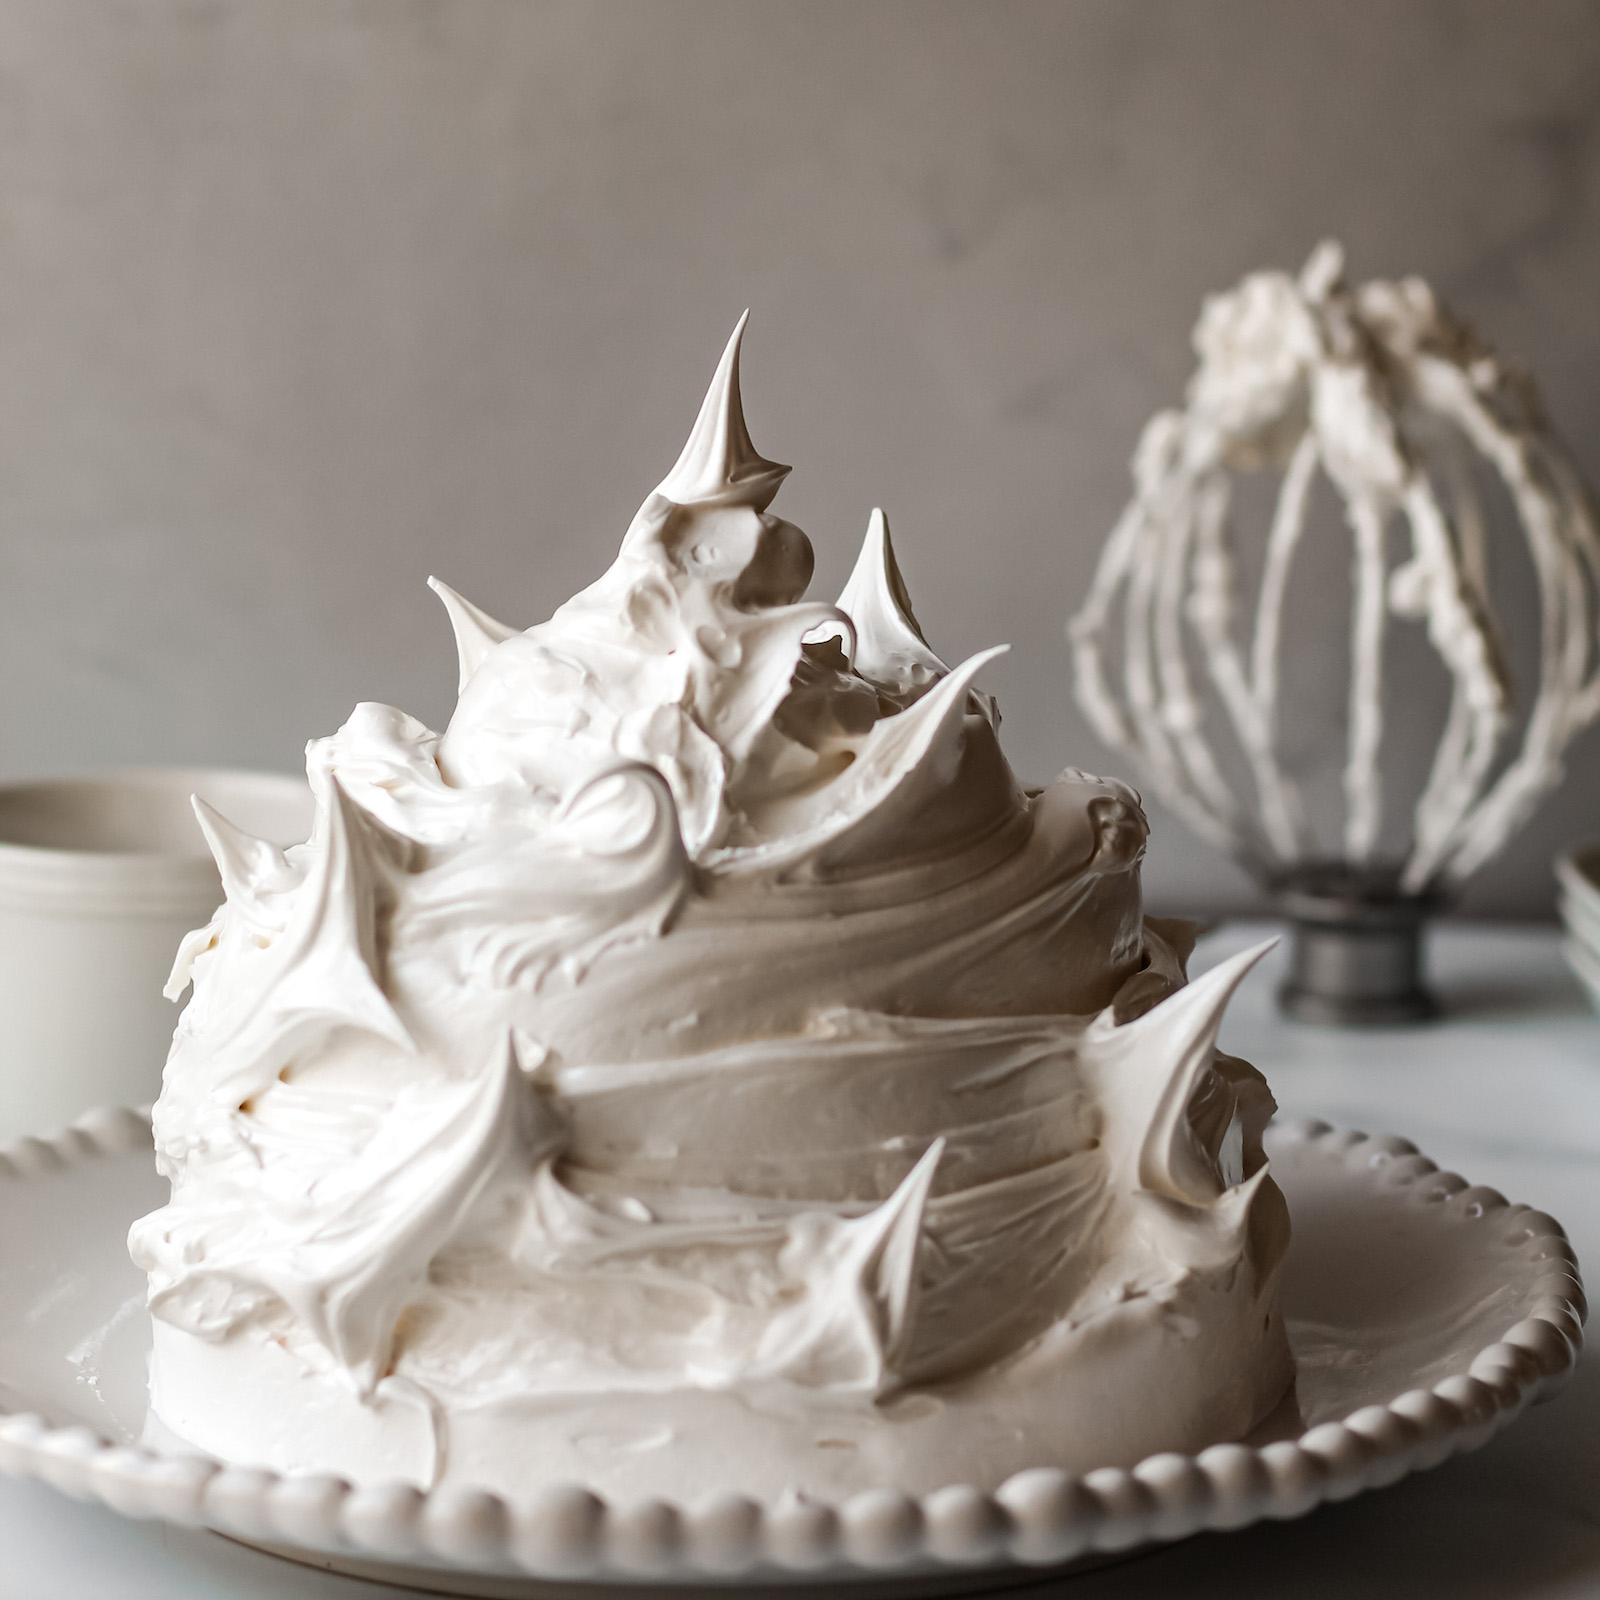
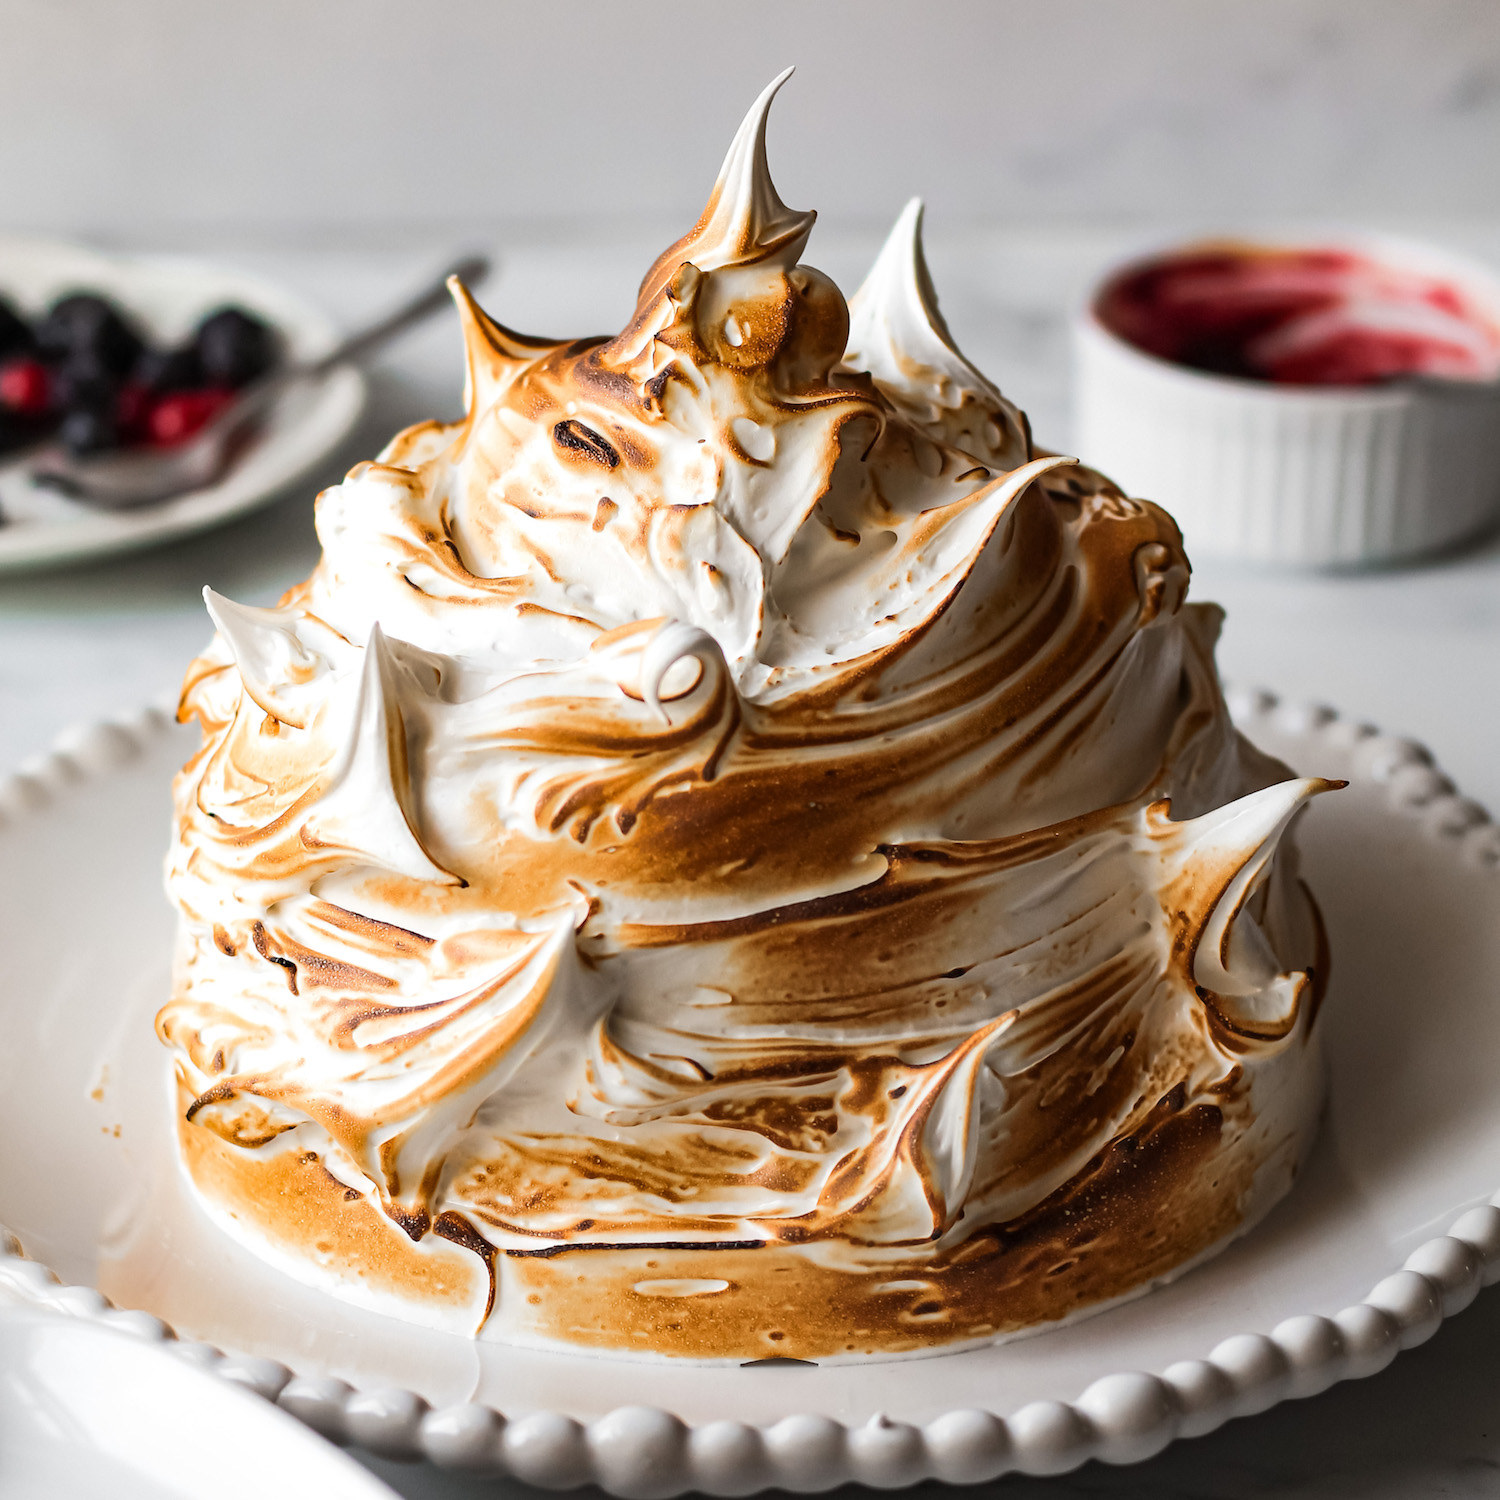
However, after I starting testing this recipe I absolutely fell in love with baked Alaska!! There’s something so charming and nostalgic about frozen desserts and who doesn’t love a perfectly toasted Italian meringue?
Speaking of meringue, vegan meringue is probably the trickiest part of this recipe but do not fret, you’re in safe hands. I’ve spent many a frustrated evening trying to master aquafaba meringue and there’s just a few tricks you’ll need to nail it! If you have no idea what aquafaba is then please do peruse my what is aquafaba guide here!
While you’re here, feel free to check out all my aquafaba recipes!
Vegan Meringue 101:
Reduce it! Aquafaba varies from can to can and may not always be “potent” enough to whip up successfully. By reducing the aquafaba you get rid of excess liquid to make the aquafaba more closely resemble egg whites.
Clean all your utensils with vinegar. Meringue has a kryptonite and that is oil. Any residue of fat/oil will immediately collapse meringue so make sure to thoroughly clean your whisk, mixing bowl, etc. Another tip is to use a super fine sieve on your aquafaba. Sometimes small pieces of chickpea remain in the aquafaba and since chickpeas contain things other than protein, this can interfere with the meringue.
Use cream of tartar or another acid to give it structure. Vegan meringue is prone to being weak and too liquid so that extra support is very welcome.
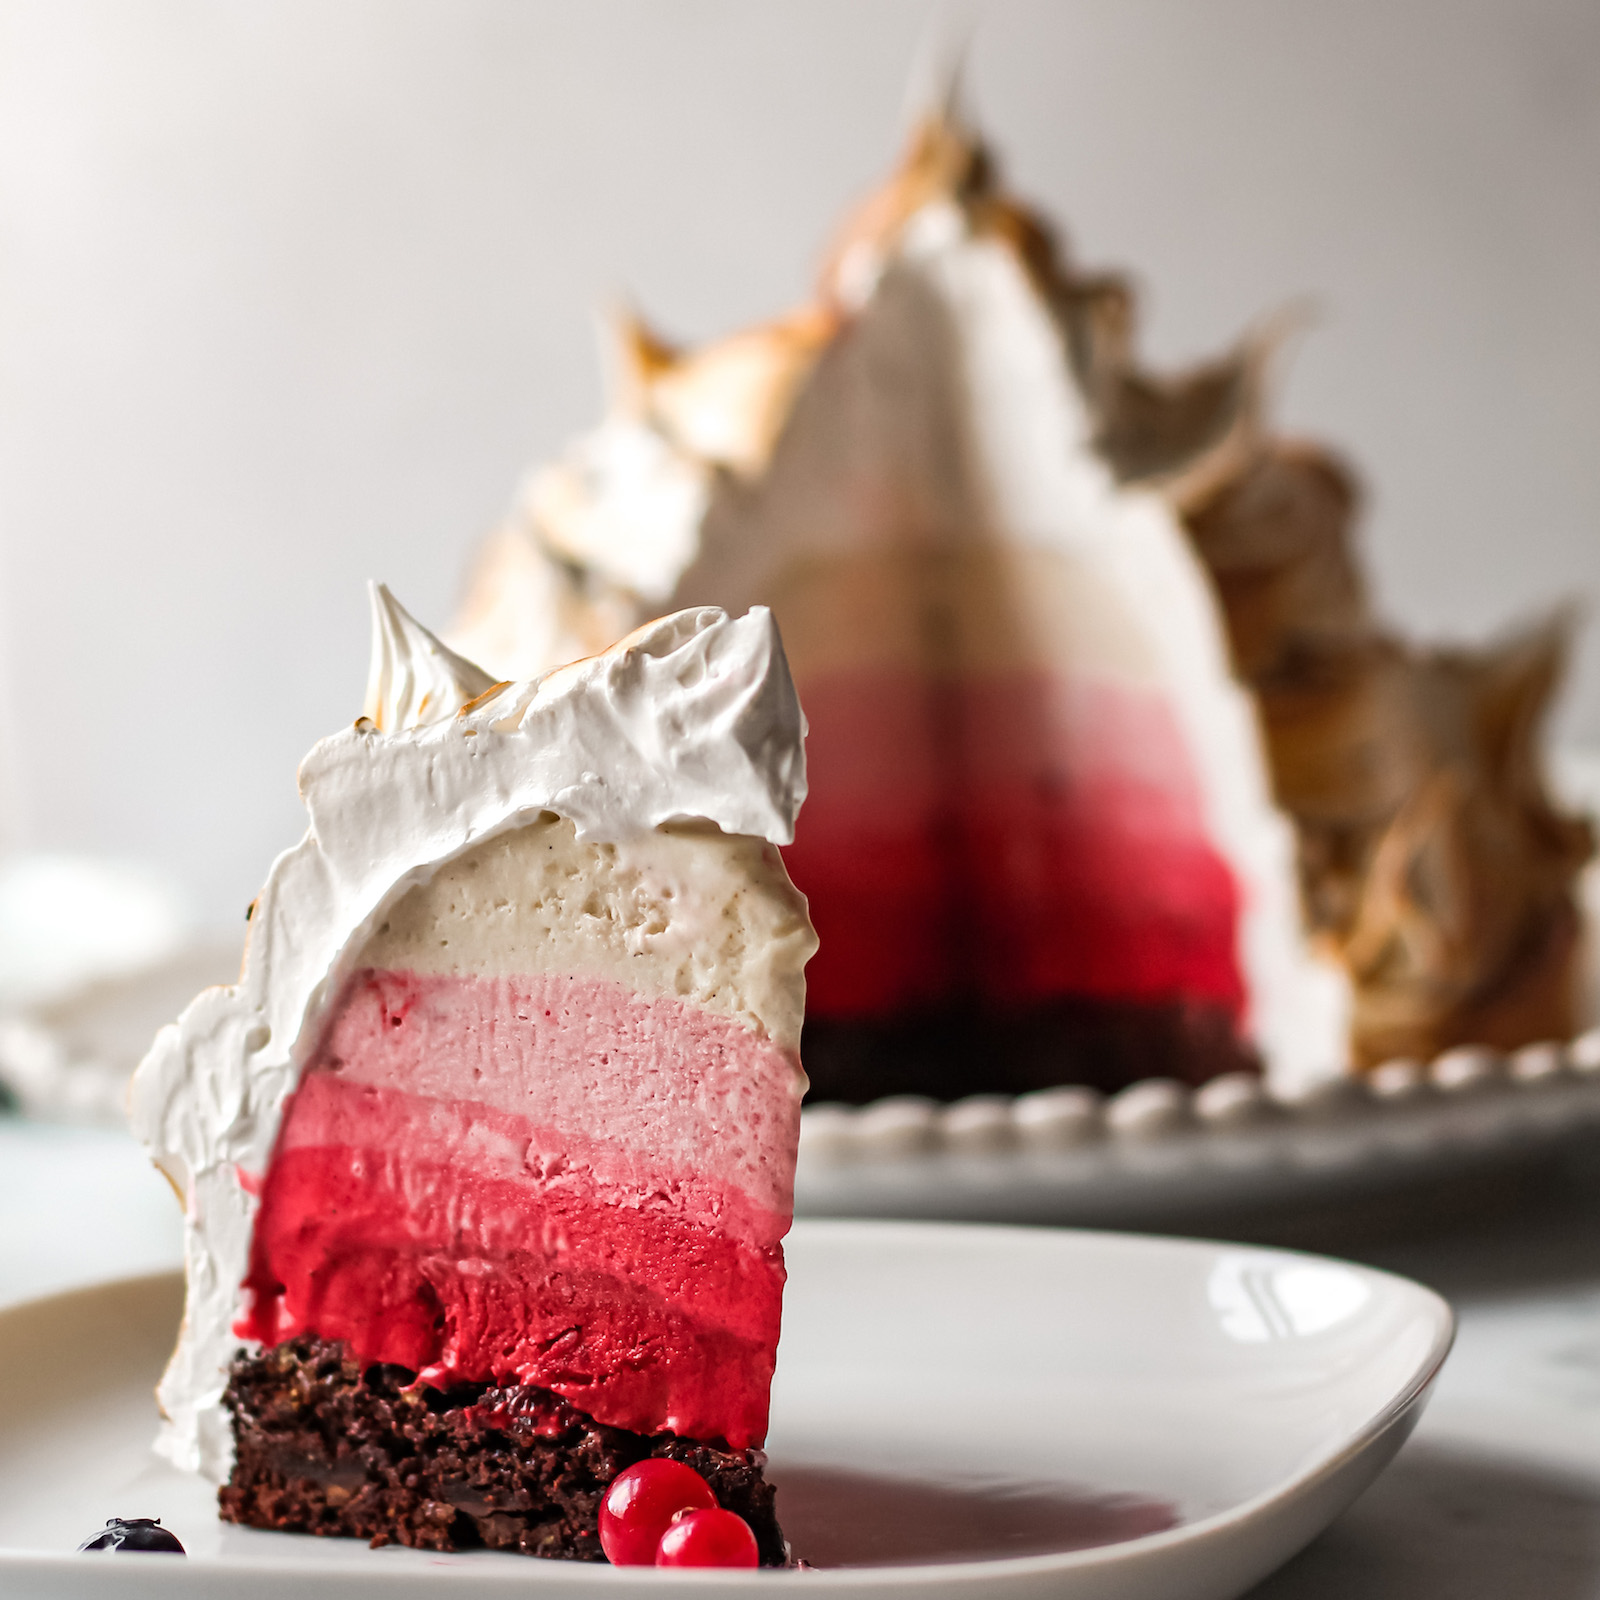
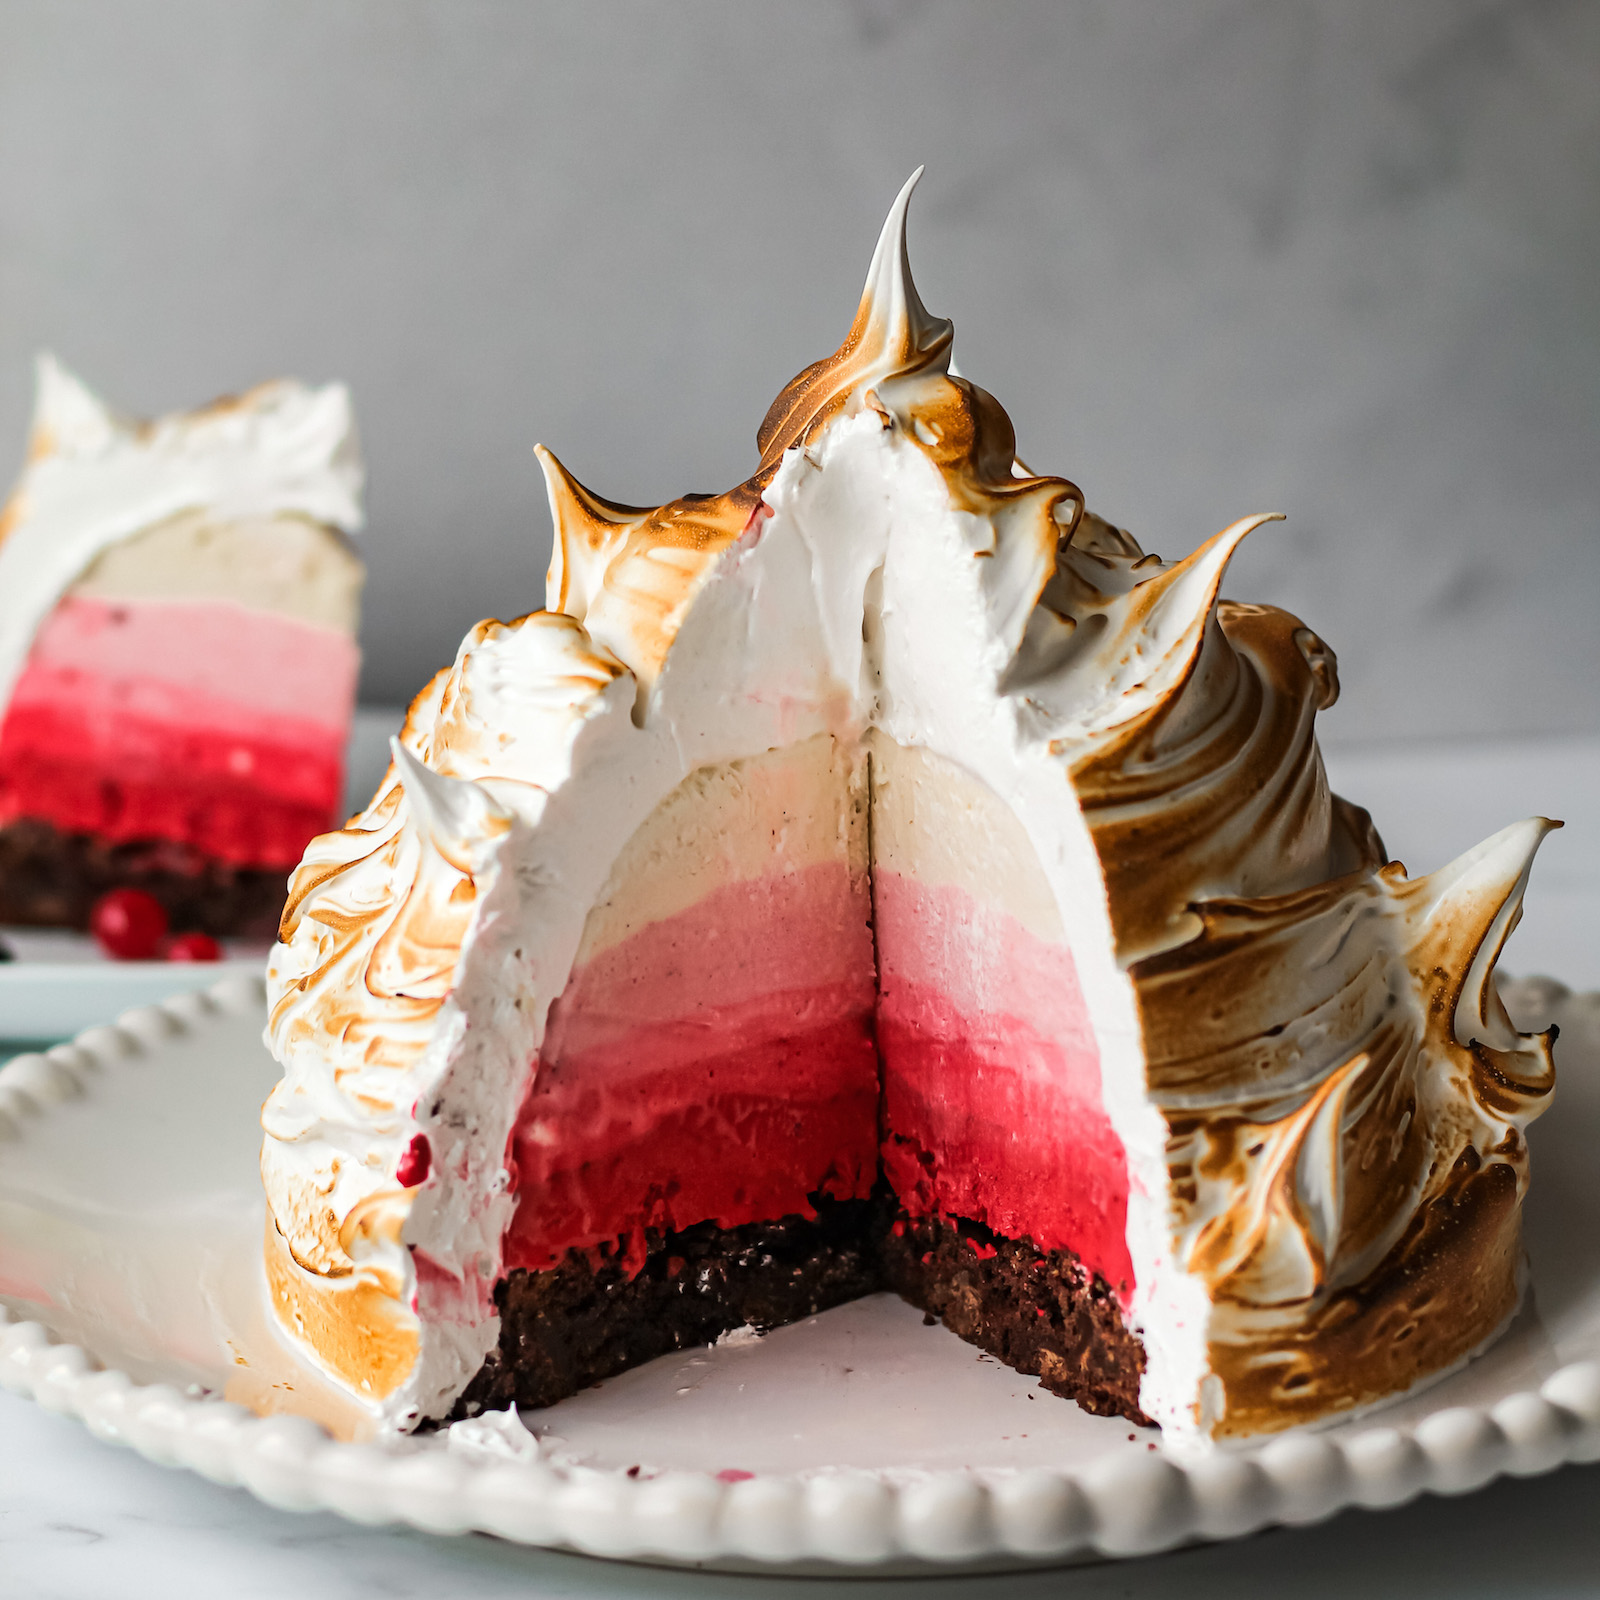
Despite being a serve-immediately kind of dessert, this vegan Baked Alaska does actually freeze quite well. The meringue stiffens up wonderfully like a marshmallow. The only part you might want to defrost a little is the brownie which is soft enough after being out the freezer for 20-30 minutes! To serve this dessert, run a knife under hot water and then cut all the way through, clean the knife and then repeat to get a beautiful cut.
My apologies if you were expecting a homemade vegan icecream recipe here. I have yet to take on that mammoth task! I actually use 2x 750ml tubs of Swedish Glace dairy-free icecream that we have here in the UK.
For this recipe you’ll need:
- 6″ cake tin
- semisphere cereal bowl with a 6″ diameter and approximately 750-1000ml volume
- candy thermometer for Italian meringue
- stand mixer/electric whisk
To find the correct volume of your cereal bowl, you can check by filling the bowl with water on a measuring scale and seeing how much it weighs.
In the process of melting the icecream and layering it up, it will lose some volume so that’s why I’ve recommended 1.5L of icecream in this recipe. I’ve suggested a single cake tin with a 6” diameter but really you need a size that matches the diameter of the cereal bowl. If you can’t find something suitable, use a cake tin with a larger diameter and cut it down after it has baked to match the diameter of the bowl (and eat the scraps, yay!)
Vegan Baked Alaska
This timeless classic is the perfect dessert to share for special occasions. Layers of dreamy, dairy-free vanilla icecream piled high with a delicious, torched Italian meringue all on top of a gooey brownie base.
Ingredients
- Ombré Icecream:
- 1.5L vanilla icecream
- 100g raspberry jam
- 50g fresh rasberries
- Easy Brownie Layer
- 50g vegan butter
- 80g brown sugar
- 1 flax egg (1 tbsp flax meal + 2tbsp water)
- 75ml plant milk, warm
- 50g plain flour
- 100g dark chocolate
- 20g cocoa powder
- ½ tsp baking soda
- pinch of salt
- Italian Meringue:
- Aquafaba from 2 tins of chickpeas (~300ml) reduced down to 150ml (see recipe)
- ½ tsp of cream of tartar
- 250g caster sugar
- 2 tsp agar agar powder
- 80ml of water
Directions
- Step 1 Prepare the reduced aquafaba in advance. Sieve the contents of 2 cans of chickpeas (preferably organic and unsalted) into a measuring jug and measure out 300ml. Pour this into a saucepan and reduce on a low heat for 15 minutes. Stir constantly throughout. Once reduced, weigh out to make sure it has reduced to ~150ml. Set aside to cool while you work on the brownie.
- Step 2 Brownie layer: Pre-heat the oven the 180C (350 F). Line a 6” cake tin with parchment.
- Step 3 Mix the flaxmeal with the 2 tbsp water and set aside to thicken.
- Step 4 Melt your chocolate in the microwave (or using the bain-marie method).
- Step 5 Meanwhile, cream together the vegan butter with the brown sugar. Add in the flax egg, plant milk and the melted chocolate and mix until incorporated.
- Step 6 Sieve together the flour, baking soda, cocoa powder and salt. Add this dry mix to the wet mix and stir together.
- Step 7 Pour the brownie batter into the cake tin and place in the oven to bake for 25 minutes.
- Step 8 Take the cake tin out of the oven and allow to cool while you work on the icecream layers.
- Step 9 Icecream layers: Scoop the icecream from the tub into a microwavable bowl and microwave it using 15 second bursts to soften it up (or wait 15-20 minutes for it to soften).
- Step 10 Separate the icecream into 6 smaller bowls. Leave one bowl as plain vanilla and place an increasing amount of raspberry jam into each of the bowls to create 6 different shades of icecream.
- Step 11 Line the cereal bowl with clingfilm so it’s easier to remove later. Place the vanilla layer into the bottom of the bowl and place into the freezer. Put the other 5 layers into the freezer too and wait 30 minutes for them all to freeze. Once frozen, take out the cereal bowl and the next layer, microwave the new layer to soften it up and then place it into the cereal bowl. Again, freeze the cereal bowl for 30 minutes. Repeat this process until all layers are added. Add the fresh raspberries to the final raspberry layer.
- Step 12 Finally, remove the circular brownie disc from the cake tin and stick it to the top of the icecream bowl. Freeze these together for 30 minutes while you work on the Italian meringue.
- Step 13 Italian Meringue: Add aquafaba to a stand mixer with the ½ tsp of cream of tartar and set to medium-low. It should take 10-15 minutes to become soft peaks.
- Step 14 Meanwhile, place 250g caster sugar, 2 tsp agar powder and 80ml of water in a pan and bring to boil.
- Step 15 Avoid mixing as much as possible because the sugar might crystallise. Use a candy thermometer to track the temperature.
- Step 16 When it reaches 120C (250F), take it off the heat and slowly pour it down the side of the bowl into the whipped up meringue. Be careful not to let it splash.
- Step 17 Let the stand mixer run for a couple minutes more until the meringue mixture cools down.
- Step 18 Once mixture is glossy and thick, take the baked Alaska out of the freezer and scoop the meringue onto it.
- Step 19 Use a blowtorch to softly burn the meringue (or place it under the broiler). Serve immediately!

Your tips to make the merengue were great! After several attempts, this merengue was the best one I made, it was so firm and glossy that I could pipe it! The only thing I noticed that after few hours it lost its shape. Would you recommend to freeze it once you give it the wanted shape? Or are there any other tips to make it last longer?
Hey! If it’s lost it’s shape after a couple hours then it’s likely the meringue still had a little too much water % in it or the sugar syrup wasn’t hot enough to fully stabilise it. Not to worry though as it’s still tasty! Freezing it should prevent further drooping but the best solution is just to eat it as quick as possible!
This is so beautiful! If you make this in advance and defrost for 20 mins, would the ice cream melt? Similarly if you broil to get the burned look, do you have to worry about melting?
Hi Neha! That’s the idea actually! Make it all in advance and then you can keep it in the freezer. If the meringue is done correctly it can sit in the freezer with no problems; it actually firms up and turns into a delicious marshmallow consistency. I always use a hand held torch to get the burned effect as it is a smaller heat source so the icecream doesn’t melt at all but if you want to broil it then I would make sure the Baked Alaska in a flat shape (more surface area to be burned) and then bake at 200-220C for 5-6 minutes. The icecream will soften but it will be mostly protected by the meringue and the cold brownie underneath. Good luck!!
I made this as my birthday cake and it was fantastic! I always wondered if I could make good meringue that was vegan and this reduced aquafaba hack is genius! I used crushed raspberries without any sugar and I think that was a mistake because it stayed super frozen with less sugar. Instead of the brownie I did a raw date, cacao, and nut base which molded very well into the cereal bowl. Still have some in the freezer and it’s stayed great.
Hi! Thanks so much for trying it! That raw cacao and nut base sounds delicious.