

Hi friends!
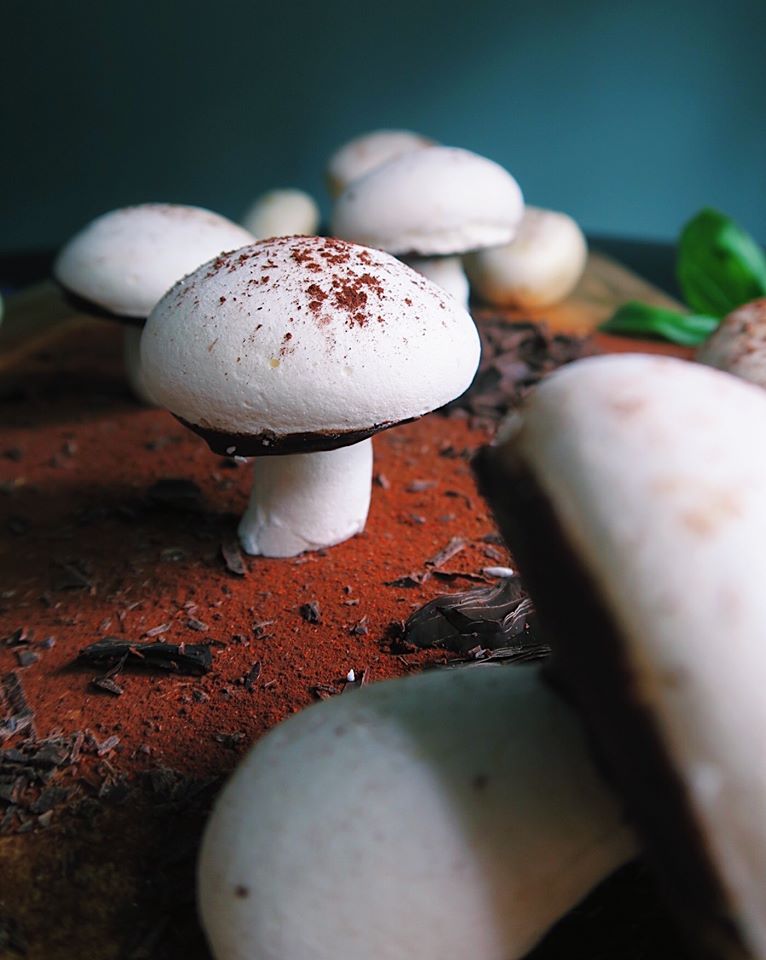
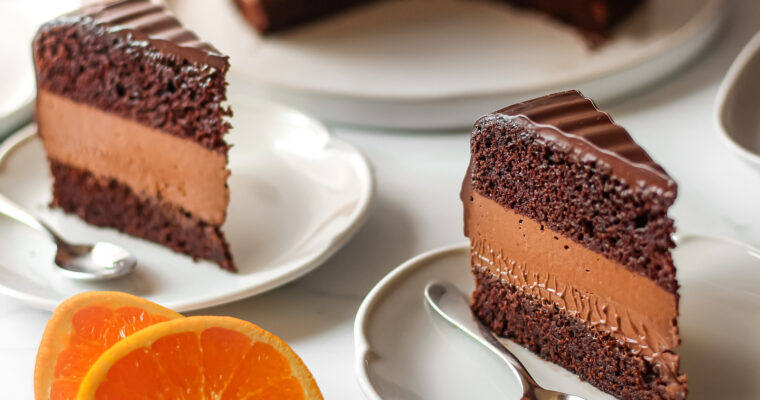
For anyone that has followed my page for a while you’ll know I’m obsessed with food illusions (see the Faux Fried Egg Cake – Spiegeleierkuchen). I had such a laugh making these mushrooms and they would be perfect to decorate a Yule log or a festive chocolate cake! Or if you’re anything like me you’ll just use them to prank your family or friends…
Cream of tartar acts as a stabiliser to the meringue and can be substituted by a few other acidic products like lemon juice or white vinegar.
Xanthan gum works as a thickener – this isn’t absolutely necessary but if you’re looking for a super sturdy, thick meringue this is mandatory.
*Note: I use grams for everything in the recipe to keep it consistent but aquafaba is a thin liquid so the gram measurements will be approximately the same in millilitres (i.e. 100ml = 100g).
Now onto the recipe:
Vegan Chocolate Meringue Mushrooms
Course: DessertDifficulty: Easy5
servings45
minutes1
hour30
minutesIngredients
100g aquafaba (liquid from 1 can of chickpeas but reduced- see recipe notes below)
175g caster sugar
1/4tsp of cream of tartar
1/4tsp of xanthan gum
100g dark chocolate
cocoa powder (for decoration)
Directions
- Reduce the aquafaba as follows:
Pour out the liquid from a can of chickpeas (unsalted!) through a sieve into a measuring cup (on a measuring scale). We need 100g for the recipe so we need to start with 150-200g and then reduce it by 1/3 – 1/2. If you don’t get at least 150g out of one can then use another.
Put the liquid on the hob on a low heat, stirring occasionally.
Reduce for 10 minutes and pour back into a measuring cup. If you end up with more than 100ml then you can put it back on the hob for a few minutes or just discard the rest/save it for another recipe, if you end up with too little you may have to do another batch or scale the recipe accordingly. - Leave in the fridge to cool for at least 1 hour. Ideally the aquafaba will congeal slightly and resemble egg whites (this will usually result in a stiff meringue!)
- Pre-heat the oven to 110C.
- Put the aquafaba in the stand mixer (must be extremely clean- wipe down the bowl with vinegar if you’re unsure) with the cream of tartar and the xanthan gum. I like to stir it around with a spoon to make sure it’s combined before I turn on the mixer.
- Turn the stand mixer onto medium and whisk up to soft peaks. Depending on the thickness of your aquafaba this should take about 5-10 minutes. As this is a small amount of liquid your stand mixer/electric whisk may not be reaching the bottom of the bowl so feel free to stop every few minutes to check and give it a quick stir with a fork to make sure it’s all homogeneous.
- Start adding in the caster sugar 1 spoon at a time until fully incorporated.
- Place baking parchment on a baking tray (or if you have a silicon mat, use that!)
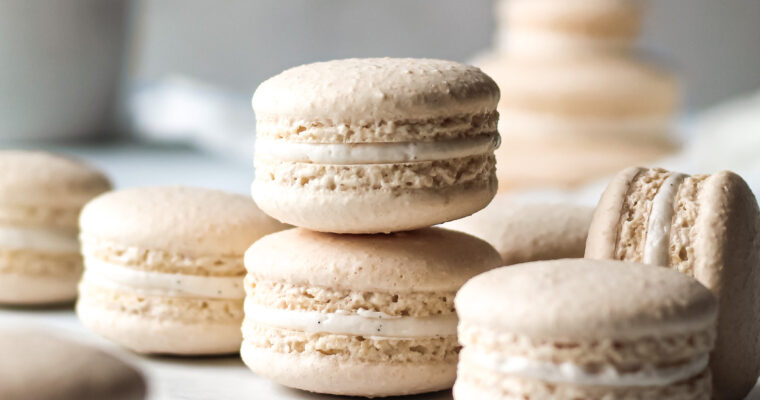
- Spoon 2/3 of the meringue into a piping bag and pipe big blobs of meringues the size of mushroom heads onto the tray (I use the same technique you might use for a macaron).
- Once all the heads are piped onto the baking tray, dip your finger in a small amount of water and “pat down” any peaks or lumps in your meringue (again, similar technique to making macarons if you’re familiar!) Make sure it’s a really minimal amount of water otherwise it may ruin the structure of the meringue.
- Put the remaining 1/3 in a separate piping bag with a smaller tip (I used 10mm), pipe some meringue into long strips; you can try piping some small ones that stand up by themselves but it’s also ok to pipe them along the baking parchment. Mushrooms come in many funky shapes and sizes so accuracy isn’t paramount here. I used a 10mm tip for this part.
- Put in the oven to bake for 90 minutes. Do not open the oven to check until the 60 minute mark. Depending on your oven, it may be done sooner so keep an eye on them for the last 20 minutes (ideally we don’t want them to brown as mushrooms are typically porcelain in colour).
- After 90 minutes take them out the oven and leave to cool for 1-2 hours.
- Finely chop the chocolate and put it into a small bowl/plate (I prefer a plate so it’s a flat surface to dip my mushrooms in). If you like, save some of the “shavings” for decoration like I did in the below photo.
- Melt the chocolate in the microwave using 10 second bursts (wait 20 seconds between each burst and stir with a spoon).
- Once fully melted, dip a mushroom head into the chocolate. You can either swirl it around to get a deep chocolate ridge or you gently drop it on the chocolate and pick it up for a more delicate appearance.
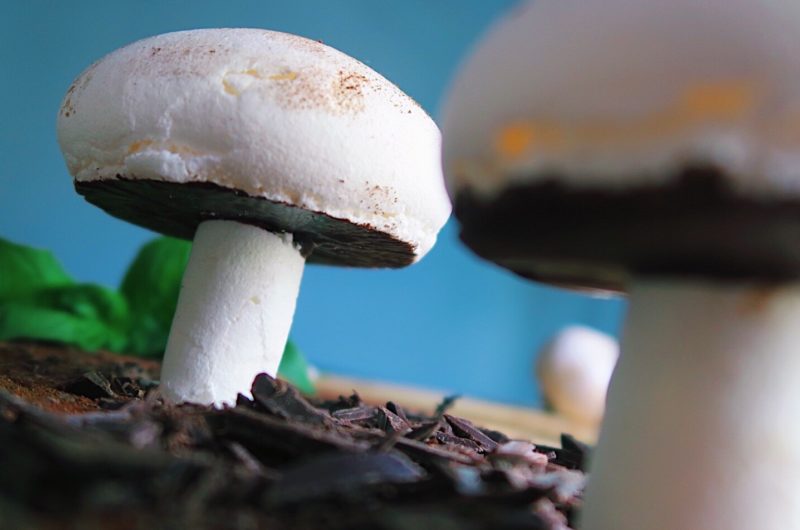
- Take one of the meringue “sticks” and attach it to the under side of the mushroom head. Rest the whole structure against a plate or balance it upside down while the chocolate solidifies.
- Trim the mushroom “stalk” if necessary (after chocolate has cooled) and decorate with cocoa powder! Rub your grubby chocolate covered fingers on the mushroom for that added “dirt” effect…