Usually I like my macarons with a coffee but why not skip the extra step and make COFFEE MACARONS?!
If you’re new to my blog, first of all – hi there! Second of all, you must know that I ADORE making macarons. They were actually the first thing that I tried to learn when I started baking. Macarons are one of the hardest desserts to make for home bakers but once you nail them it feels like utter BLISS.
This is actually my second macaron recipe on the blog! The first recipe was for easy vanilla macarons which you can find here! Not only was this my first vegan macaron recipe but it was also a SUPER in-depth blog post on the art and science of macaron making. So if you are a complete newbie please do go check out that post first as I’ll be a tad briefer here! Most importantly, I actually have a very in-depth tutorial for recipe 1 in my instagram highlights HERE.
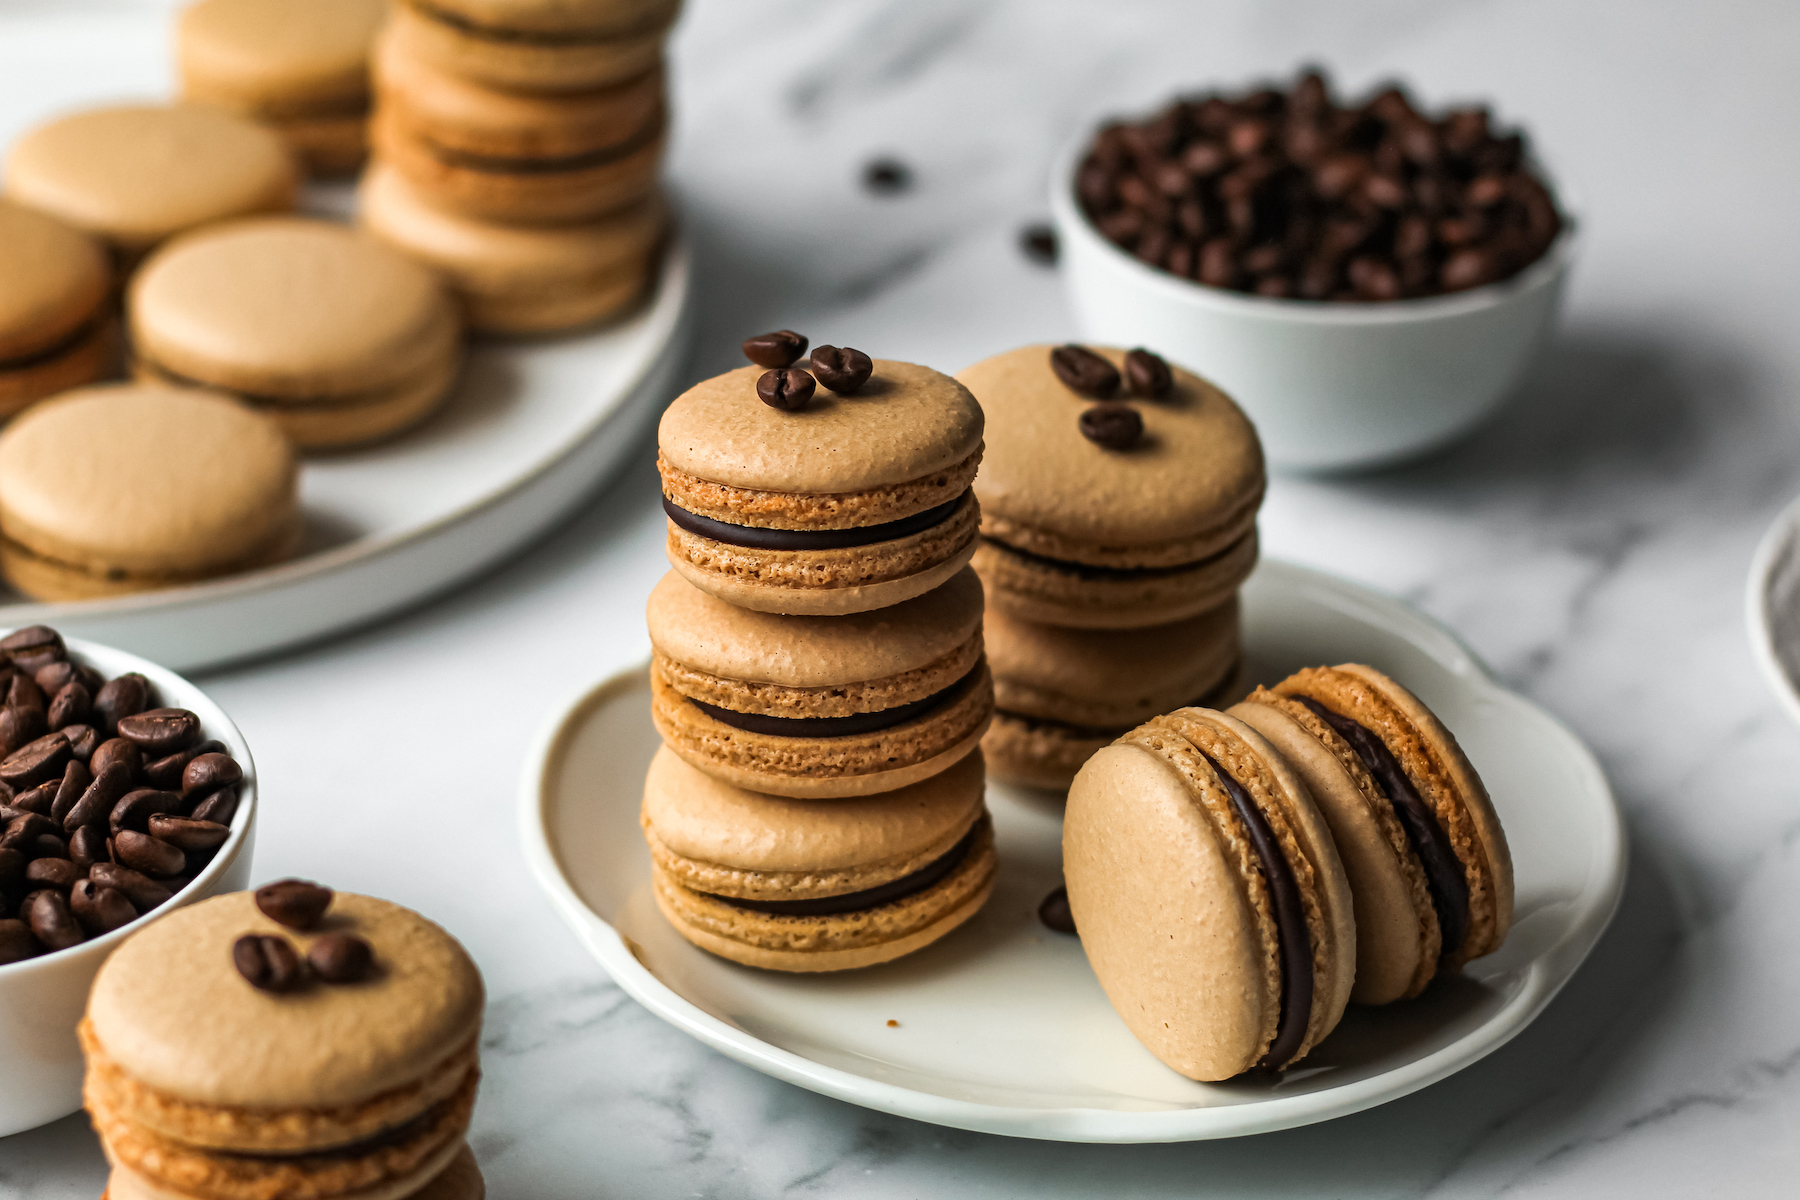
There a fair few vegan macaron recipes online but you’ll find that mine is quite unique as I use a vegan version of the Swiss method.
When deciding on a method, two thoughts came to mind: which is the easiest and which is the most effective? French is by far the easiest method but the drawbacks are that the meringue isn’t very stable. Italian is the most glamorous method, and often the most effective, but you need a sugar thermometer to make it! Swiss is therefore my go-to choice.
It is even more optimal in a vegan meringue because we don’t have to worry about “overcooking” the aquafaba like you would with egg whites. In fact, my recipe entails cooking the aquafaba down with the sugar to make it more potent and sturdy. We’ll get there soon!
Let’s jump straight into the technical side of this process.
Equipment:
For this recipe you’ll need the following equipment:
- stand mixer / electric whisk
- accurate scale
- fine mesh sieve
- baking trays + parchment paper/silicone mat
- piping bag + 1cm circular nozzle
- oven (seems obvious but I get a lot of questions if you can make macarons in toaster ovens or microwave… )
A stand mixer or electric whisk is fairly essential to this process. It is *technically* possible to whip up a meringue by hand but it will take at least 20 minutes and your arms will hate you for it! Make sure your bowl and whisk are clean before you start this process. I like to wipe down my utensils with apple cider vinegar which is a neutralising acid and also helps stabilise meringue.
An accurate scale is an absolute must. Macarons are a science and just like in a chemistry lab, everything needs to be weighed to the gram. This cannot be achieved with guesswork or with cups.
Thirdly, in order to get smooth macarons you will need to sieve your icing sugar and almond flour together.

You’ll typically need 2 or more baking trays for this recipe as you’ll need to spread out the macarons enough so that they don’t touch. A hidden variable that is often the cause for failed macarons is the type of baking tray that is being used. A cheap metal baking tray can often cause macarons to explode because the metal is thin and conducts heat very quickly. This rapid change in heat causes macarons to rise too quickly and explode. This is even more common in vegan macarons because we can’t rely on the proteins found in egg whites to bind the macaron batter.
A workaround for this is to “double tray” your baking trays. This means stacking one on top of another. The thin gap between the trays creates a small vacuum of air which heats slower than just a single sheet and can allow the macarons to rise evenly. Alternatively, I’ve had a lot of success using a stone pizza baking tray as it heats up more slowly than metal trays. You will have to bake them for longer though.
I use silicone mats for my macarons. I haven’t noticed a huge difference between silicone mats and baking parchment but I will note that it’s possible for macarons to be lopsided with baking parchment because air can get underneath the parchment and move them around.
How do macarons get their feet?
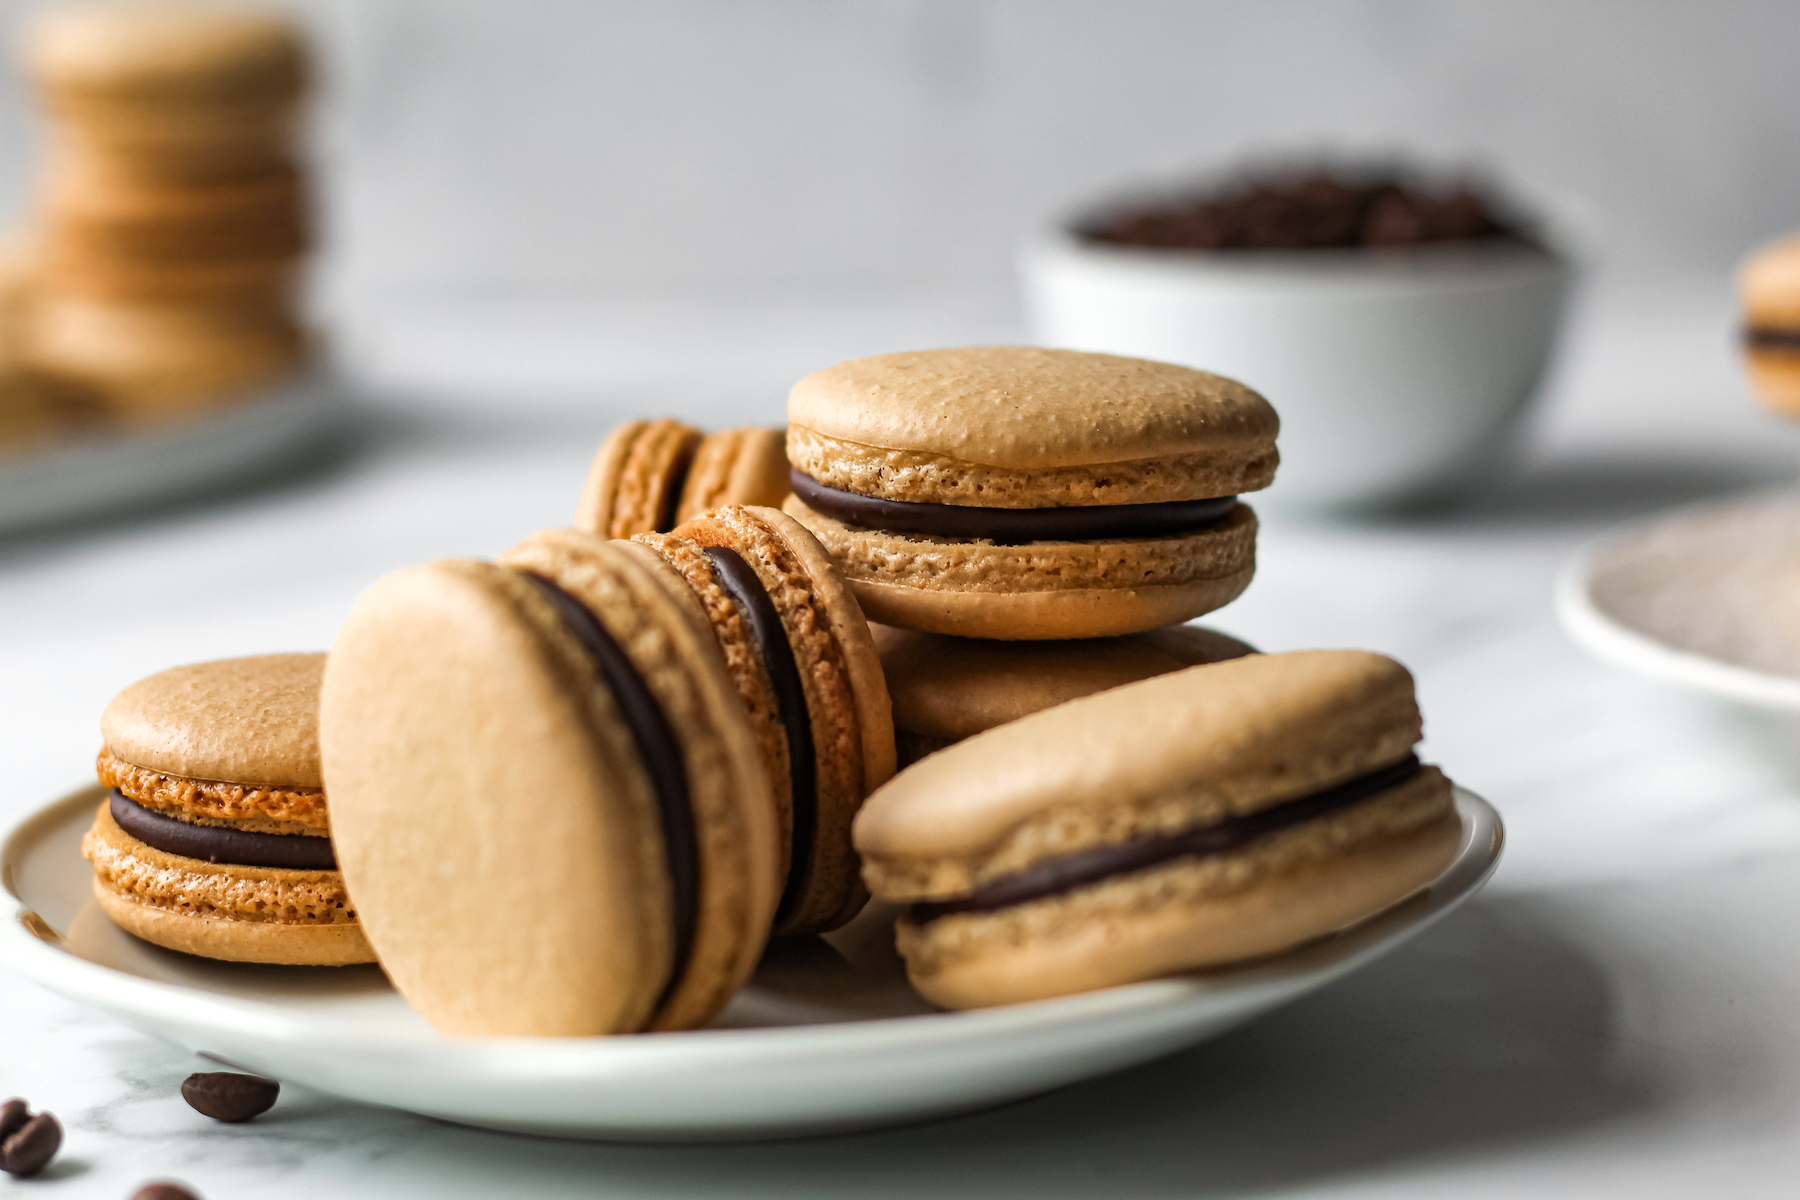
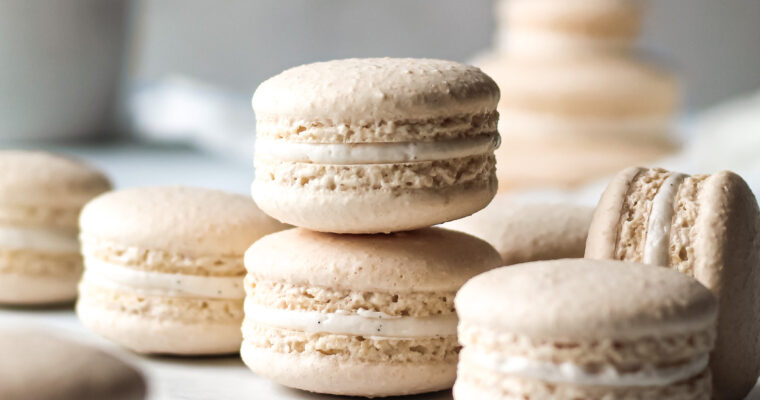
Long story short, tiny molecules of air trapped by strands of protein in the batter expand in the oven and allow the macarons to rise. With the tops being exposed to air both before and after they get to the oven, they remain smooth and flat because they have been dehydrated. The insides however, expand rapidly to cause the macarons to rise and eventually bake firm so that the macarons have their signature feet.
Almond meal vs almond flour
I always recommend almond flour because the finer it is, the smoother your shells will be. However, I am a hypocrite and often buy almond meal as it works just as well. Using meal will just mean your shells are a little bumpy which I personally don’t mind. It makes them feel rustic.
Why do I need to add cream of tartar? Is there a substitute?
Cream of tartar or an equivalent is fairly essential for vegan meringue/macarons. You’ll find that most non-vegan meringue or macaron recipes suggest using cream of tartar or other acids to help the meringue whip up. It is even more essential for us because the proteins in aquafaba aren’t as robust as those found in egg whites so we need the added support from an acid to contribute to stiffness. Substitutes for cream of tartar include vinegar or lemon juice however these are sub-optimal. Since they are both liquids they’ll further contribute to the hydration of the aquafaba which is already quite a thin liquid.
If you want to know more about the science then check out my how-to guide on aquafaba where I go into detail on the mechanics of acid in meringue. I also have written there how to make your own aquafaba.
Final tips:
You’ll find that this recipe is near identical to my vanilla macaron recipe except for the introduction of espresso powder in the shells. This can quite easily be subbed for other powders. For example, cocoa powder for a chocolate variant or a berry powder for a fruity version.
Cleaning your bowl and whisk is super important. Imagine having done all the extra work to guarantee a perfect macaron but then a tiny droplet of oil in the mixing bowl collapses the meringue!!
Another handy tip is to use a large pint glass to place the piping bag in so it’s easier to scrape the batter into the bag.
Performing a good macaronage takes a lot of patience and sometimes some elbow grease. I would thoroughly recommend watching a few tutorials on Youtube or checking out my instagram highlights because it’s almost impossible to describe this technique in words.
How long can you keep macarons for?
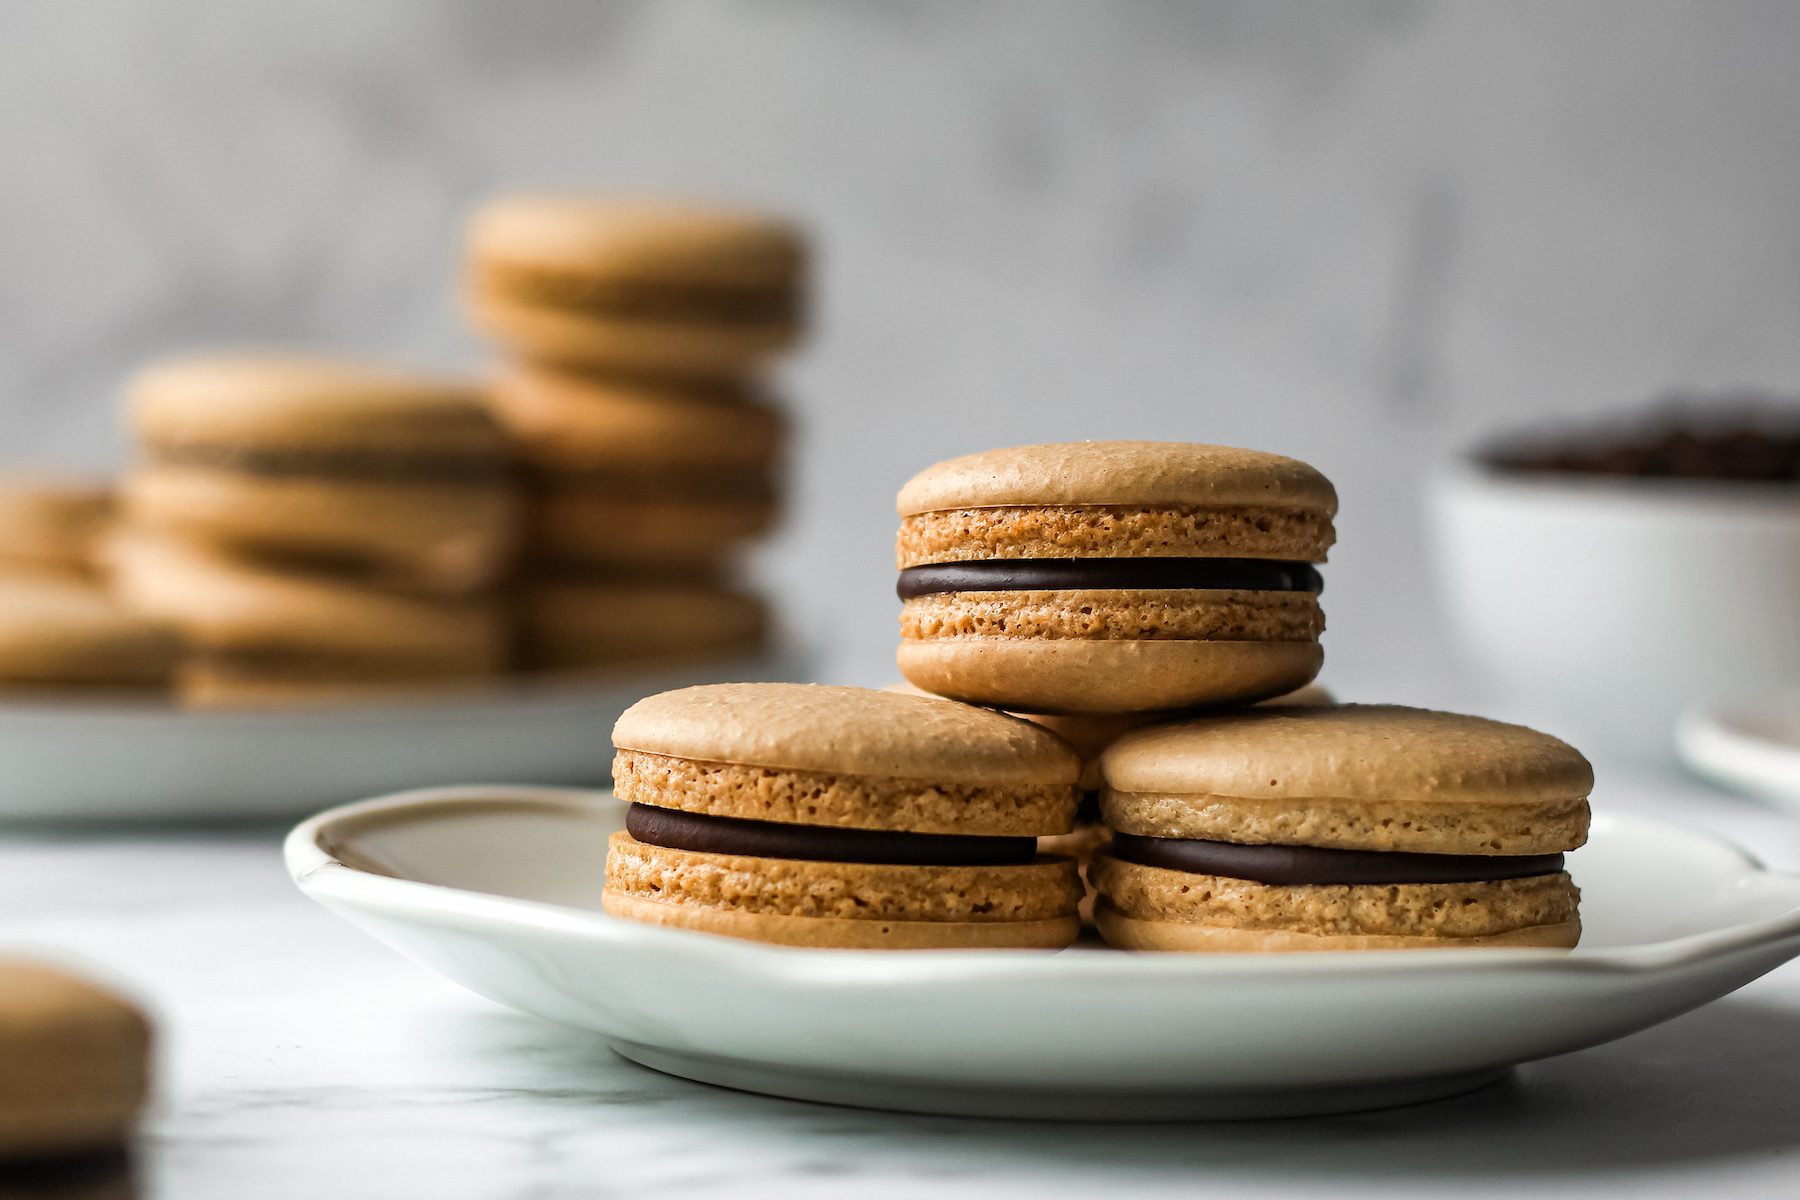
Macarons, and especially vegan macarons, last for a surprisingly long amount of time. I would suggest 2-3 weeks in an airtight container but it’s unlikely anything bad will happen if you store them longer than that! It’s just sugar and nuts after all.
If you’ve read this whole blog post – congratulations! I hope you learned something and if you have any questions feel free to drop a comment below, send me an email or message me on Instagram! Happy baking!
As a reminder, for this recipe you’ll need:
- a piping bag with 1cm circular nozzle – if you prefer not to use silicon or fabric bags please do use biodegradable or compostable piping bags!
- stand mixer / electric whisk
- accurate scale
- fine mesh sieve
- baking trays + parchment paper/silicone mat
Vegan Coffee Macarons
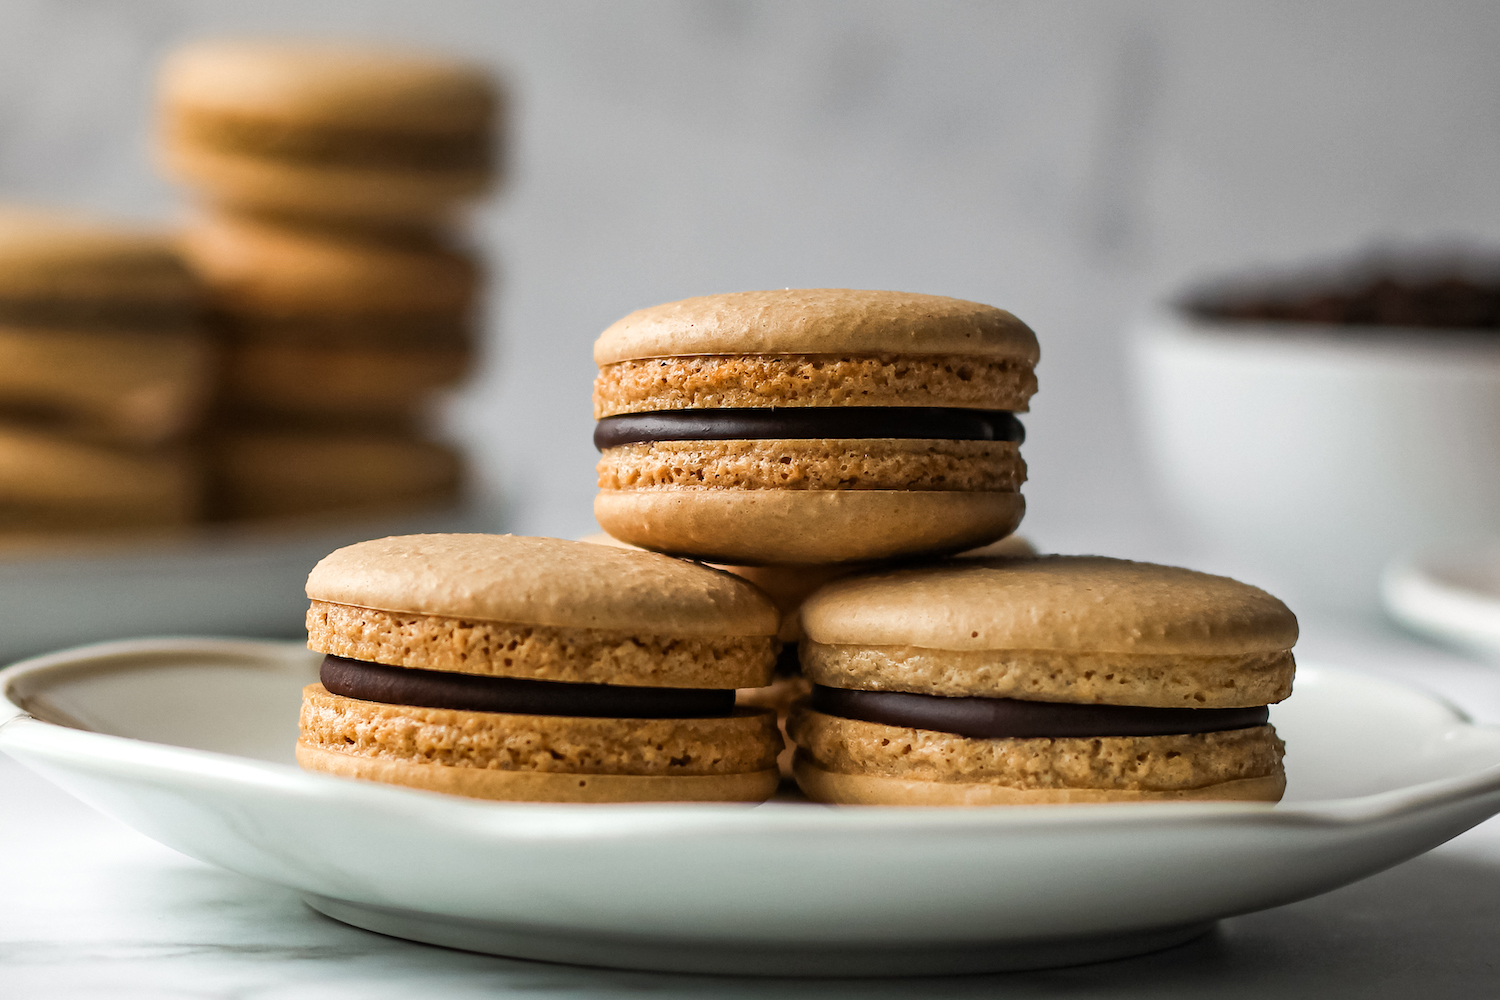
This is the absolutely quintessential vegan macaron guide. Everything you need to know about vegan coffee macarons with a delicious coffee-chocolate ganache.
Ingredients
- 300g aquafaba
- 200g almond flour
- 175g granulated sugar
- 170g icing sugar
- 1 tbsp espresso powder
- 1/2 tsp cream of tartar
- Coffee ganache:
- 200g chocolate, chopped (~55% cocoa solids)
- 125ml soy milk
- 2 tbsp espresso powder
- pinch of salt
Directions
- Step 1 Pour the 300g of aquafaba and 175g granulated sugar (475g total) into a saucepan on low heat. Simmer for 15 minutes until it has reduced to 325g total weight (use a kitchen scale to check). Pour the aquafaba mix into a stand mixer bowl and leave to cool for 1 hour.
- Step 2 Meanwhile, sieve together the almond flour, espresso powder and icing sugar a few times.
- Step 3 Add the cream of tartar to the aquafaba and start mixing on medium speed for 10-15 minutes.
- Step 4 Once it reaches stiff peaks, pour the dry mix into the meringue.
- Step 5 Gently fold the mix together until you get a slow-moving lava consistency.
- Step 6 Put the batter into a piping bag with a round 1cm piping tip and pipe circle blobs onto a silicon mat, holding the bag perpendicular to the tray. Bang the tray on a table a few times to pop all the bubbles. Use a toothpick to pop those bubbles if necessary.
- Step 7 Pre-heat the oven to 125C.
- Step 8 Leave the macarons to dry for at least 1 hour. Once the macaron shells are no longer shiny they are ready for the oven.
- Step 9 Place the macarons into the oven and immediately turn the oven down to 120C. Bake for 40 minutes and/or until the feet look dry. Turn the oven off and leave the macarons to dry out for at least an hour with the oven door ajar.
- Step 10 To make the ganache, heat up the soy milk in a saucepan with the espresso powder and salt until it is steaming. Pour this over the chopped chocolate and set aside for it to melt.
- Step 11 Once it is completely smooth, cover it and place it into the fridge to completely chill.
- Step 12 Assembly: Take the ganache out of the fridge for 20 minutes to warm slightly before filling. Once softened, scoop the ganache into a piping bag and pipe tablespoon amounts of ganache into a macaron shell and sandwich with another shell of equal size.
- Step 13 Do this will all the shells and ideally wait at least 24 hours for the macarons to mature before serving!


Looking delicious and beautiful