These delicious vegan sugar cookies (or biscuits) are the perfect little baking project for the holidays! They are completely egg-free, dairy-free and take no time to make!
Hi baking friends! I have a question for you – are these cookies or biscuits? I’m from the UK so it’s in my blood to call these biscuits but a quick google search returns very few recipes for “vegan christmas biscuits”… so here we are! SUGAR COOKIES!
I often write whole essays about recipe inspiration and important recipe details but since this is probably my easiest recipe to date I’ll jump right in!
This recipe requires absolutely zero equipment outside of a normal kitchen and only 5 ingredients! You need a wooden spoon, mixing bowl, rolling pin (or empty wine glass!), and some sort of cookie cutter! I’m sure even a large enough lid would suffice. If you want to add the royal icing then you need a couple more bits but nothing crazy!

Click here for all my biscuit recipes!
These cookies require no chilling time and do not spread in the oven! Previously I have always used cornstarch to make cookies firmer in the oven but these don’t need it! The trick to prevent them from spreading is to keep the butter chilled at all times. When you mix it with the sugar, do not try to warm it up to make it easier to cream. Just stir enough to incorporate the sugar and move on. One time I was feeling lazy so I softened the butter and it was bad news in the oven with a lot of spreading!
How long do sugar cookies last?
These cookies will last up to 2 weeks kept in an airtight container at room temperature. I have had them last as long as 1 – 2 months but it’s preferable to eat them sooner.

How do you know when the cookies are done?
The cookies will start to turn ever so slightly golden when they are ready. Watch them like a hawk for the last 2 minutes because they can brown very quickly!
These cookies are so dynamic you can switch up the flavourings as you please! Swap the vanilla for peppermint extract if you want something a little more festive! Swap out a 1 tsp of flour for cocoa powder if you want a chocolate variation!

Despite the simple recipe, I’ve given a lot of detail in the recipe so as to avoid easy mistakes. Enjoy!
For this recipe you’ll need:
- a few piping bags with a small 2mm nozzle (or just a very small hole cut in the bag). If you prefer not to use silicon or fabric bags please do use biodegradable or compostable piping bags!
- electric whisk or stand mixer
- rolling pin
- accurate scales to weigh ingredients
Vegan Sugar Cookies
These festive vegan sugar cookies are the perfect holiday treat! They are buttery, sweet and melt-in-the-mouth! They go perfectively with a warm cup of tea or eggnog!

Ingredients
- Cookie ingredients:
- 200g plain flour
- 115g vegan butter
- 100g caster sugar
- 1 tsp vanilla extract
- 25ml aquafaba
- pinch of salt
- Royal icing:
- 60g aquafaba
- 300g icing sugar
- 1 tbsp cornstarch
- 1 tsp vanilla
- food colouring (optional)
Directions
- Step 1 Cookies: Pre-heat the oven to 180C (350F).
- Step 2 Sieve out the aquafaba from a can of chickpeas and measure out 25ml. Keep the rest for the royal icing.
- Step 3 Mix together the caster sugar and vegan butter.
- Step 4 Once the sugar is incorporated into the butter, add the aquafaba and vanilla into the sugar mix. Mix together until combined.
- Step 5 Finally sieve in the flour and salt. Carefully work the dough until it pulls away from the bowl. Be cautious not to overwork as we do not want too much gluten development. If it’s too sticky add a small amount of flour. If it’s too dry add 1 tbsp of plant milk.
- Step 6 Place the dough onto a lightly floured work surface. Roll it out until it is your desired thickness (I aim for 8mm). Cut out your shapes with cookie cutter or a sharp knife and transfer to a baking tray lined with parchment or a silicone mat.
- Step 7 Bake for 10 minutes until slightly golden.
- Step 8 Take them out the oven and place on a rack to cool.
- Step 9 Decorate with royal icing!
- Step 10 Royal icing: Place the aquafaba in a large bowl (or stand mixer) and use an electric whisk on medium speed until foamy soft peaks.
- Step 11 Start spooning in icing sugar until fully incorporated. Add in the cornstarch
- Step 12 Finally add in the vanilla and whisk for a further 1 minute.
- Step 13 Depending on the consistency, you may wish to add more icing sugar to make it more viscous or thin it out with some water. A test to see if it is ready is to agitate the royal icing with a spoon and it should return to a smooth surface after 10-15 seconds (or with a little shaking of the bowl).
- Step 14 Separate out the icing into different bowls for all the different colours you want. Add the colouring and stir until combined. I use gel colourings because they’re stronger but water-based should be fine here.
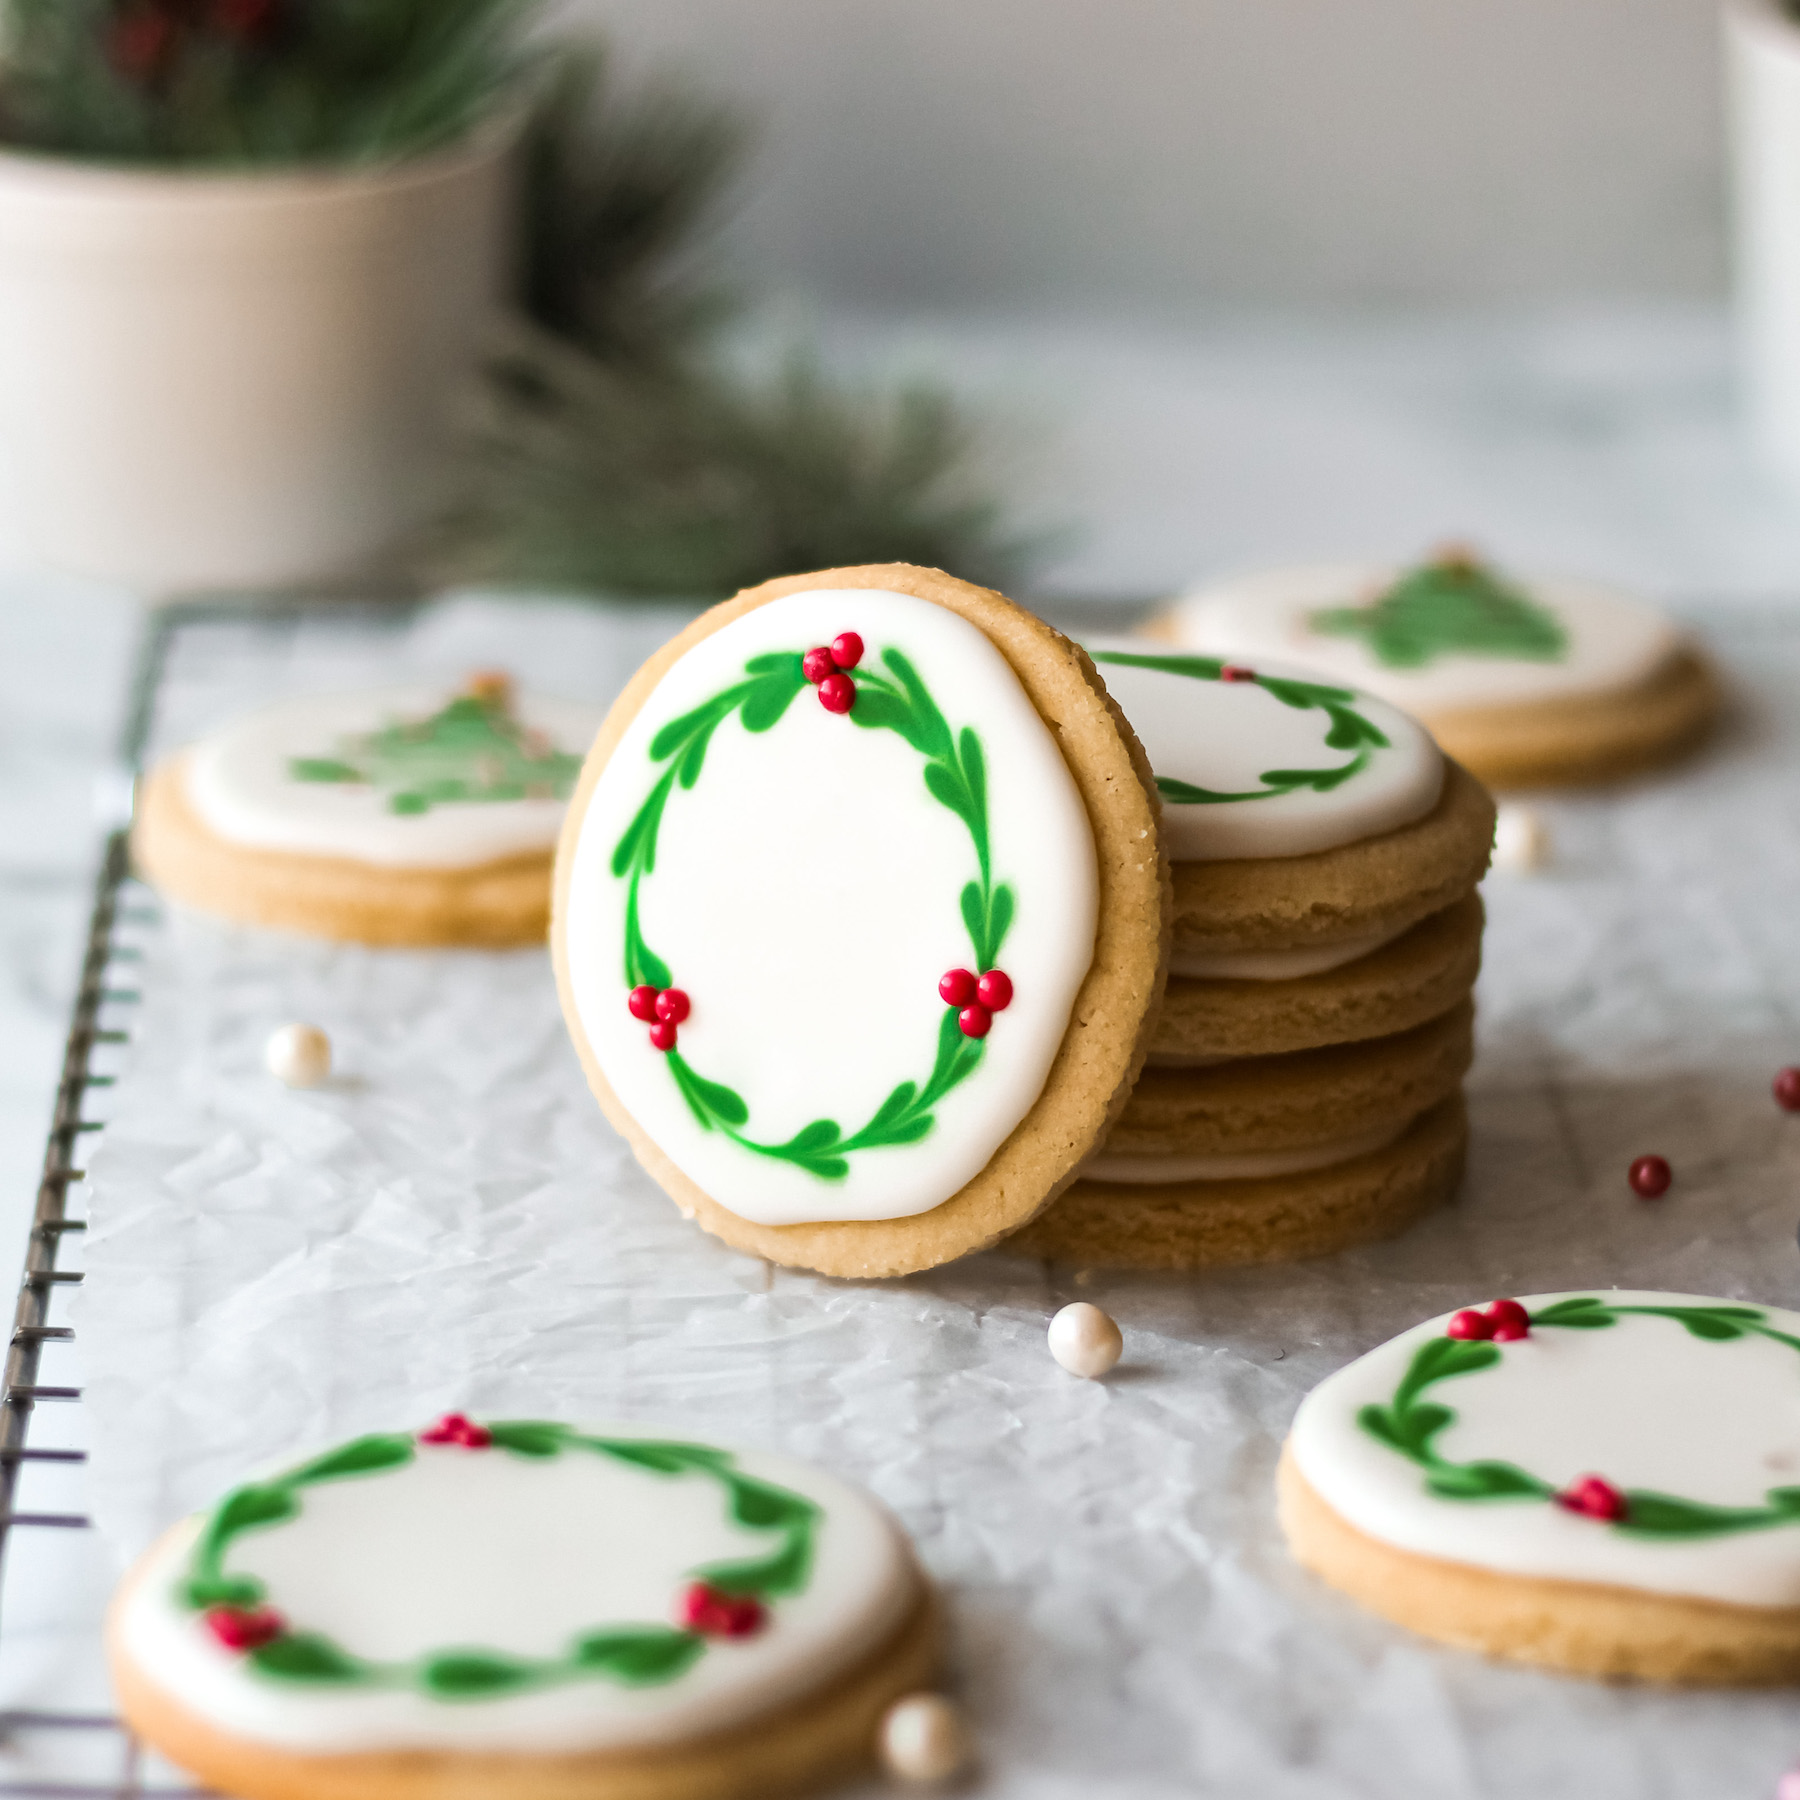
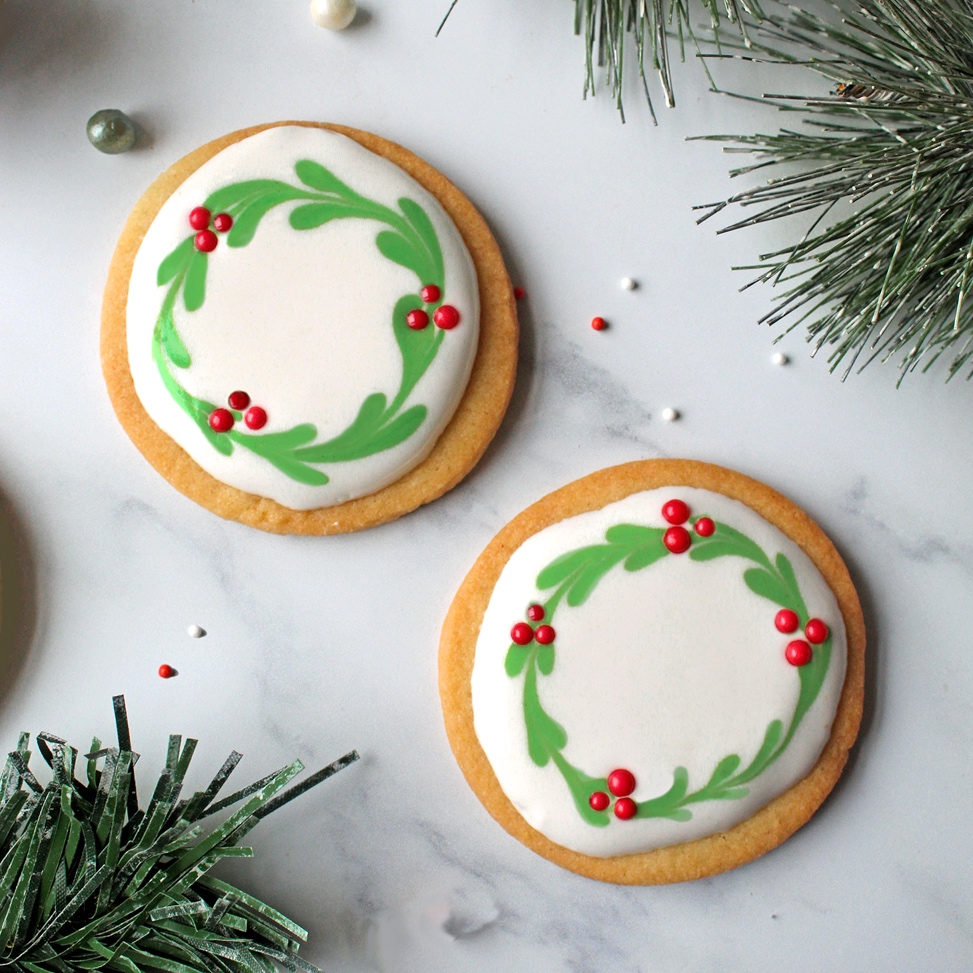
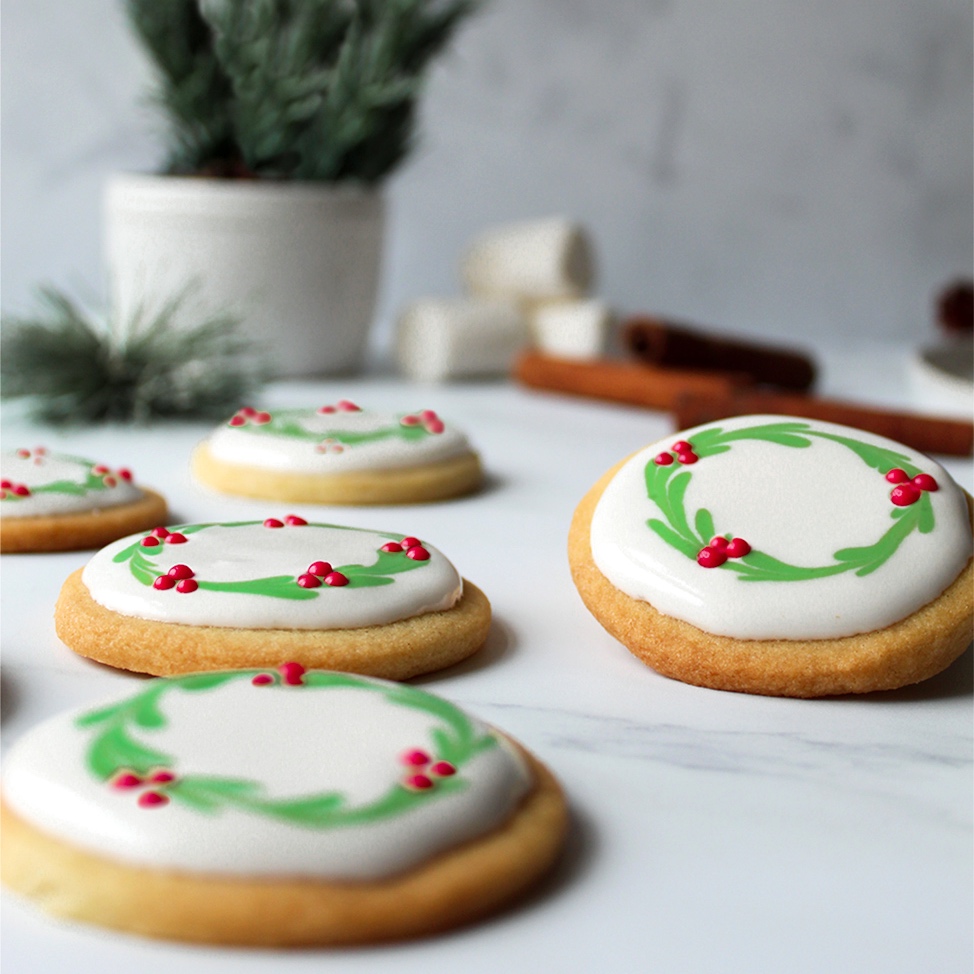
- Step 15 Add the icing to a small piping bag and carefully pipe designs onto the cookies. To achieve the effect above, first draw a white circle of icing then flood it in. Next, pipe green dots around the edge of the white circle. Using a toothpick, swipe through the dots to create the wreath effect. Finally add red sprinkles!


YAY These turned out great! Thank u
Hi! What size of red balls did you use? I was searching for them and I’m not sure whether to pick the 4 mm or 2 mm ones.
Hi Isabelle! Sorry didn’t see your comment! I used 4mm. You can also just use red food colouring and pipe on red “blobs”! Happy baking 🙂
Love these! They turn out perfect every time 😊
Hi Jayme! Thanks so much for leaving a comment. Glad you love them 🙂