White chocolate and raspberry cookies are a recipe that I keep coming back to because they’re just so soft and delicious! I used to be a white chocolate hater because it can be too sweet on its own but when it’s balanced with the sourness of raspberries it really shines! These might be my current all-time favourite cookie recipe.
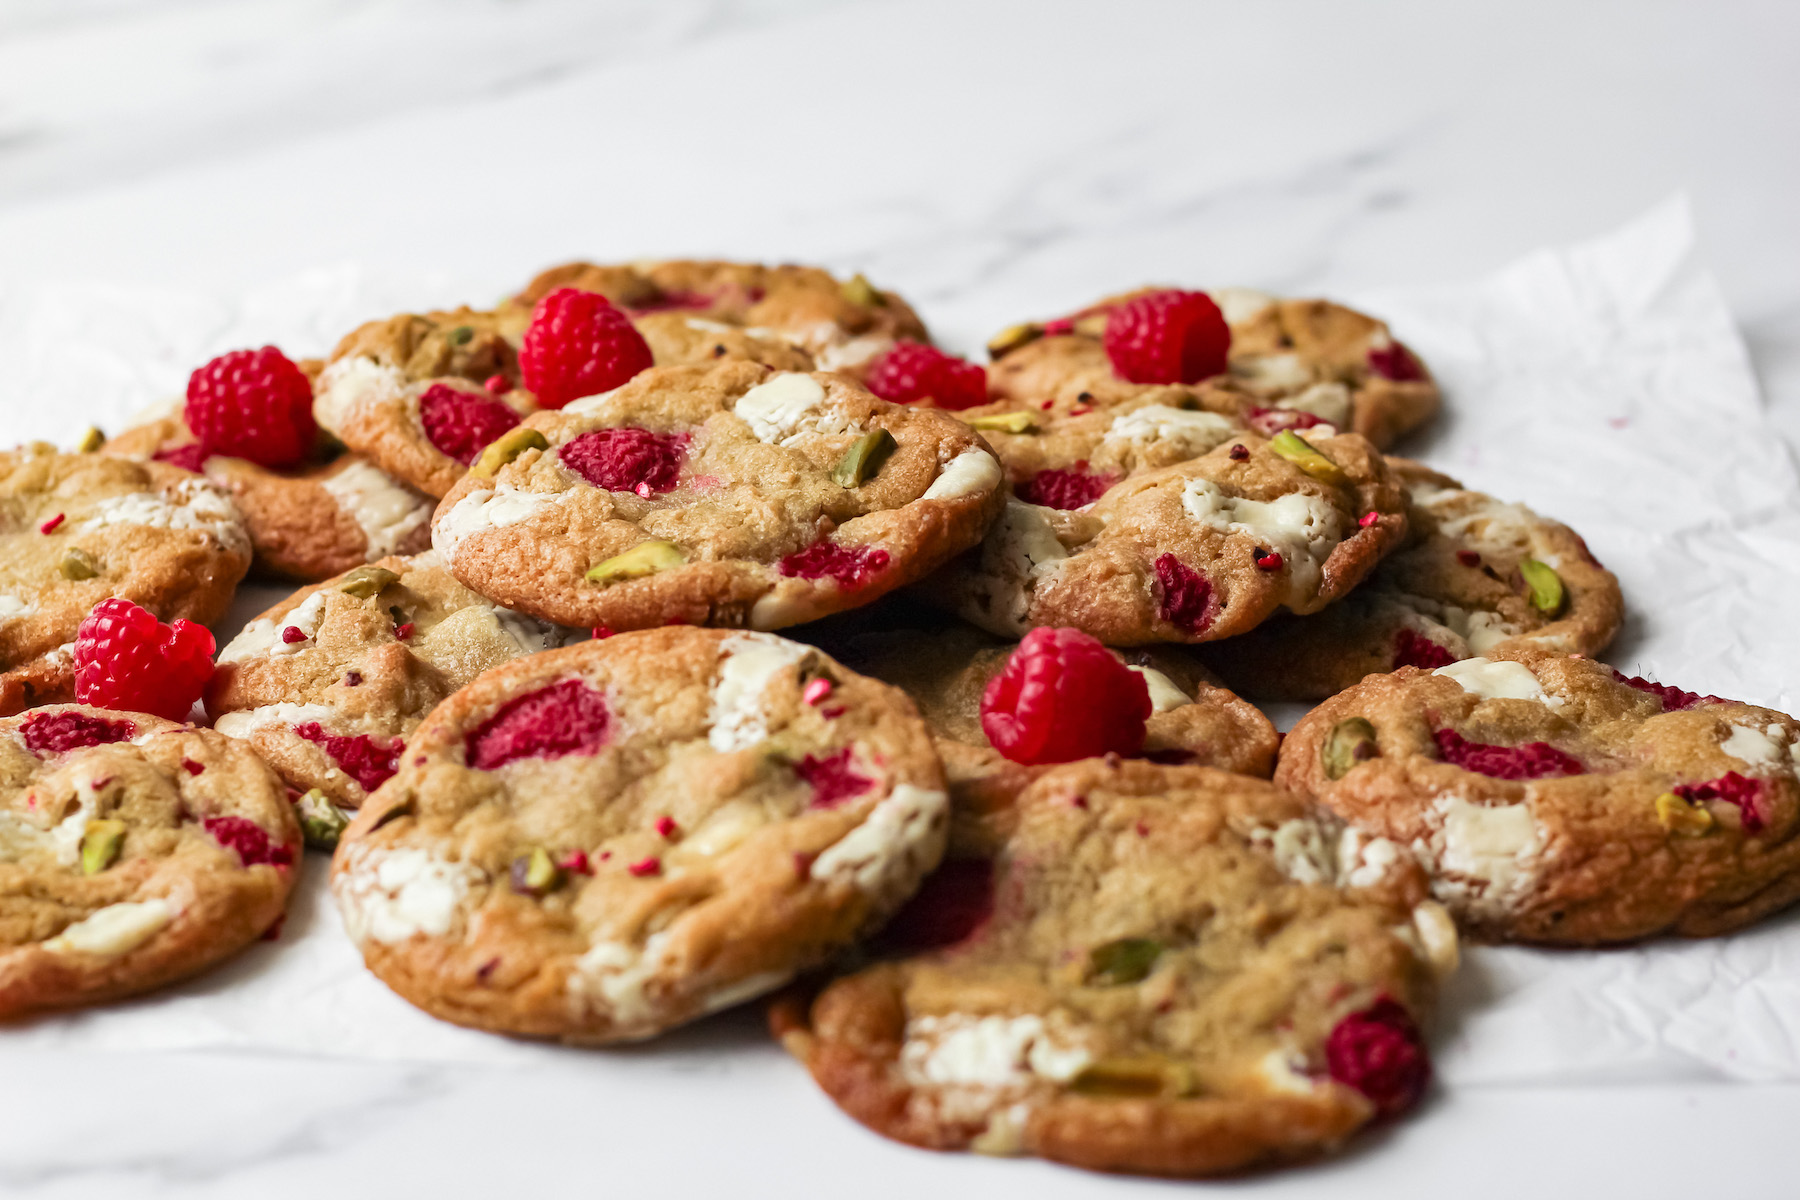
If white chocolate and raspberry isn’t your cup of tea, feel free to check out all my other cookie recipes for some different options.
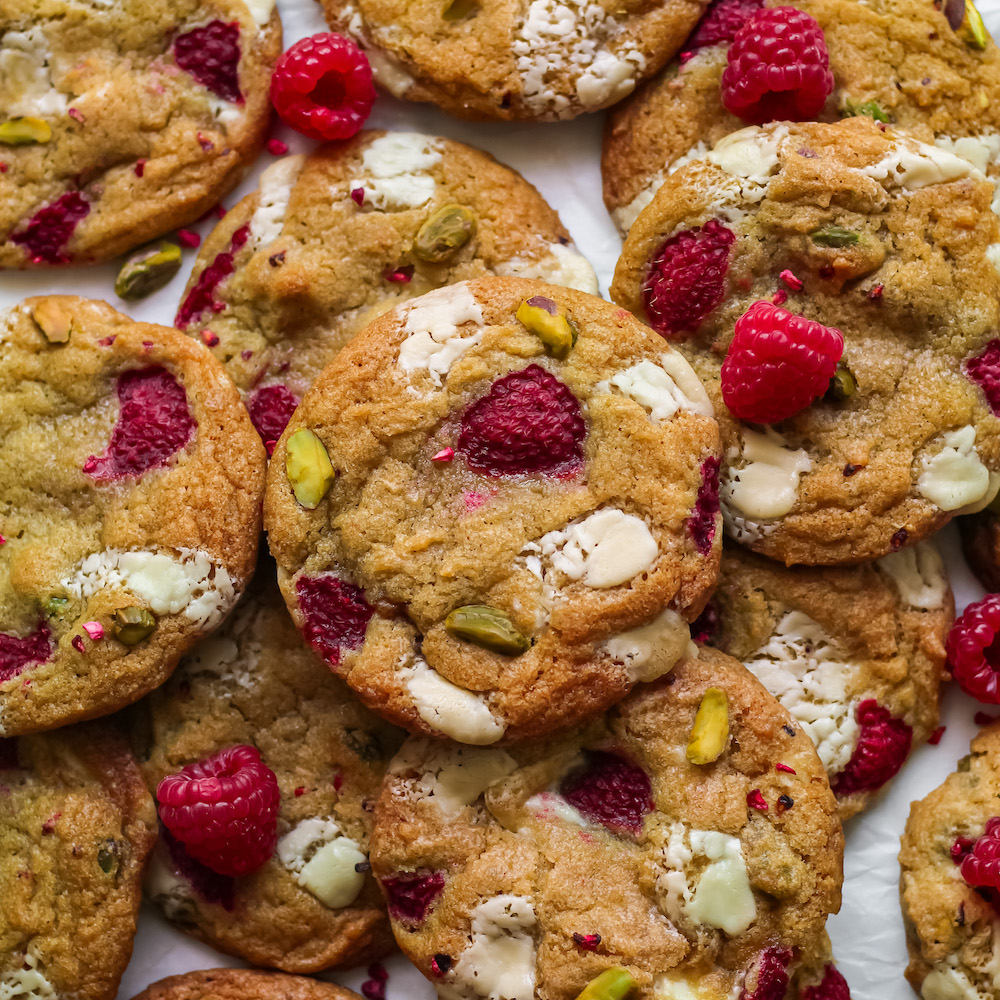
I spent weeks working on this recipe and I have to say I thoroughly enjoyed eating my way through all the failed batches. Cookie recipes are fairly flexible and foolproof but there’s a very specific balance you want with a cookie like this! Thick, but not dry, gooey but not greasy, sweet but not overbearing, etc.!
If you’ve tried some of my other cookie recipes you’ll notice I don’t use any traditional egg replacer for these. After dozens of experiments, I found that the best way to emulate eggs in cookies is just to use improved ratios of sugar: butter: flour and a small amount of plant milk to loosen the dough. If you don’t have plant milk at home you can use water too! Cookies are supposed to be an easy, home baker-friendly treat, let’s leave the egg replacers for the more advanced stuff!
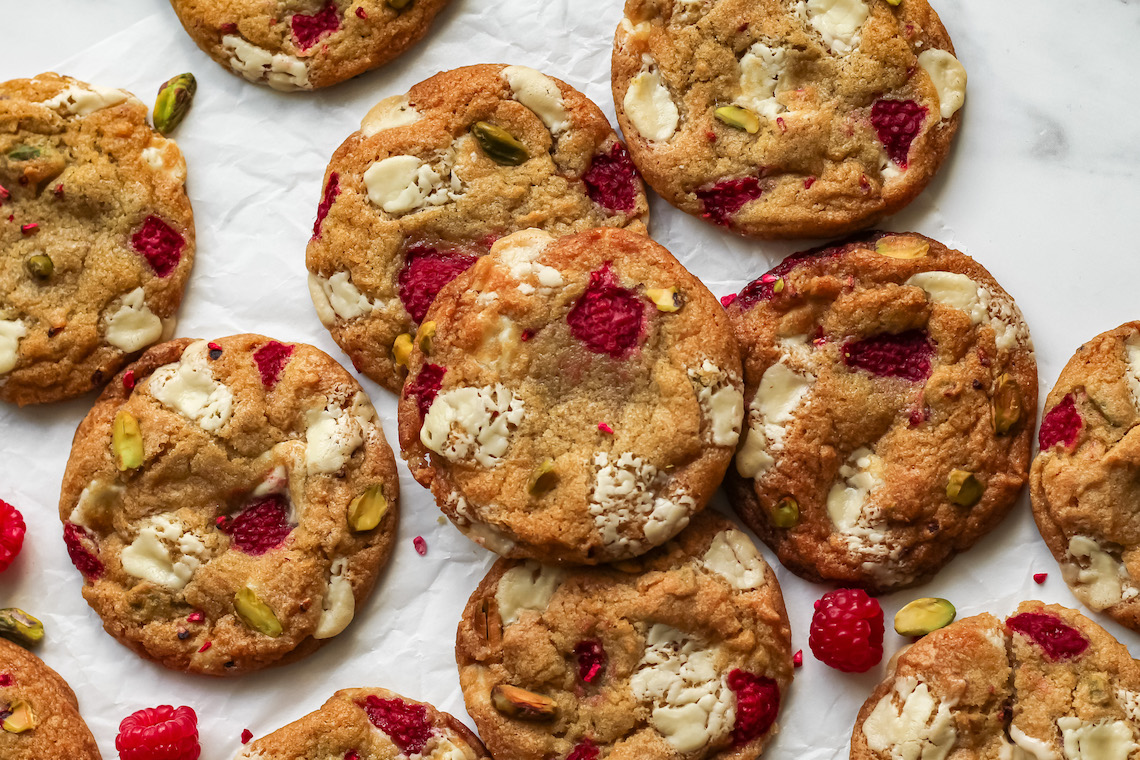
Some final tips for these cookies:
1. In other recipes of mine I have suggested browning the butter which could also be a great idea for this recipe. Browned butter is a concept borrowed from non-vegan cookie recipes where the dairy butter contains milk solids that can be “browned”. Most vegan butters cannot be browned as they do not contain milk solids but a handful do contain various substitutes that allow the butter to brown quite well. I use the Naturli brand for most of my baking but I’ve also heard good things about Miyoko’s.
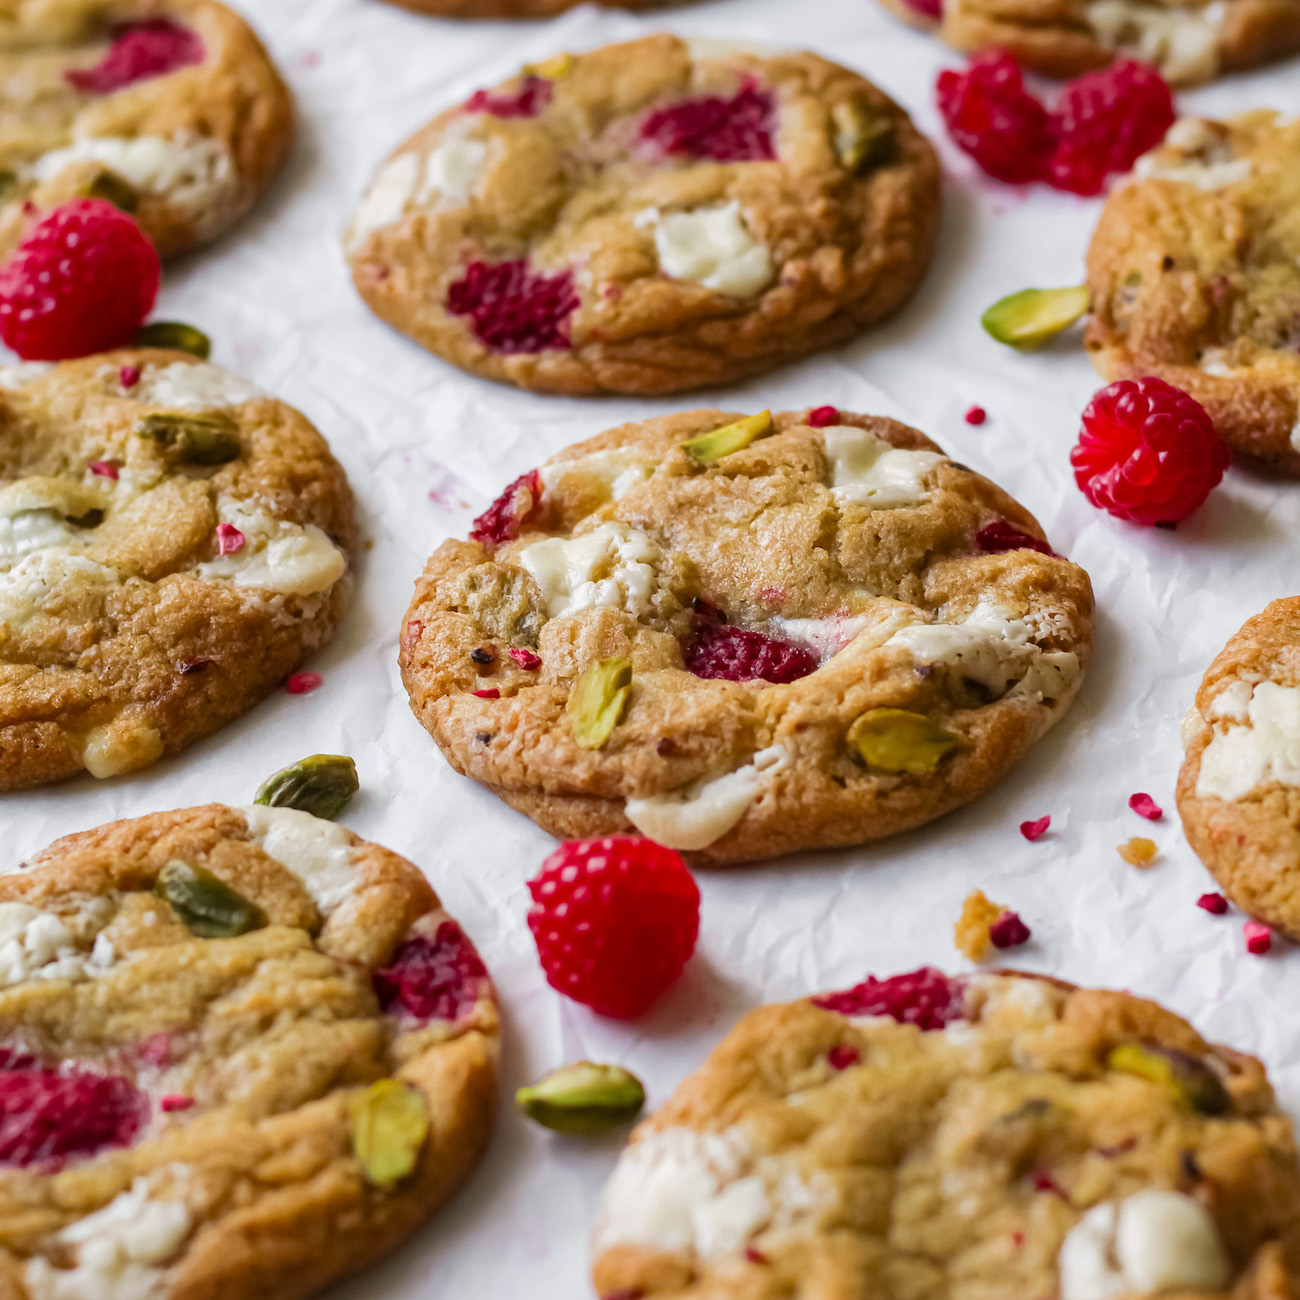
2. Make sure you ALWAYS add in extra chocolate chunks, raspberries and pistachios to the cookie dough balls before they go into the oven. They won’t look half as good without them!
3. Bake 4-6 cookies at a time because they spread a lot and you don’t want them to stick together. Also one tray at a time means they will cook evenly! Sometimes when you have two trays in the oven, the heat distribution isn’t even.
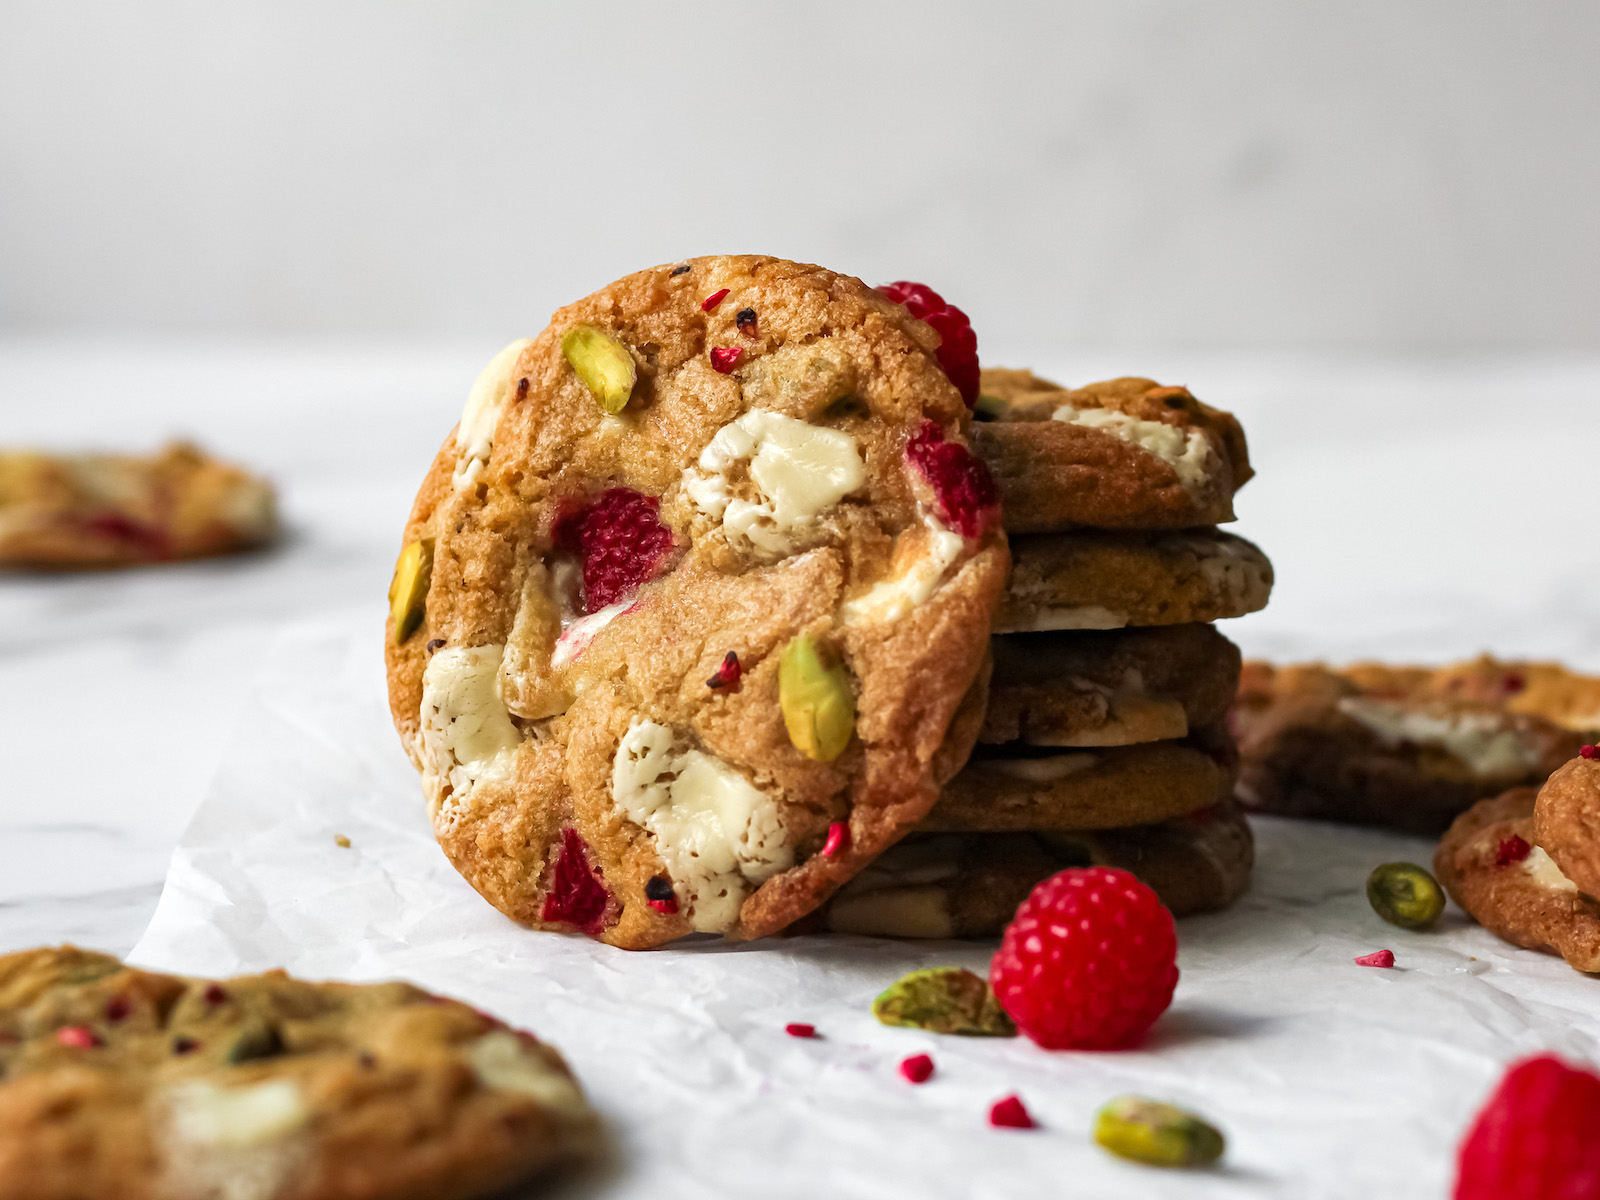
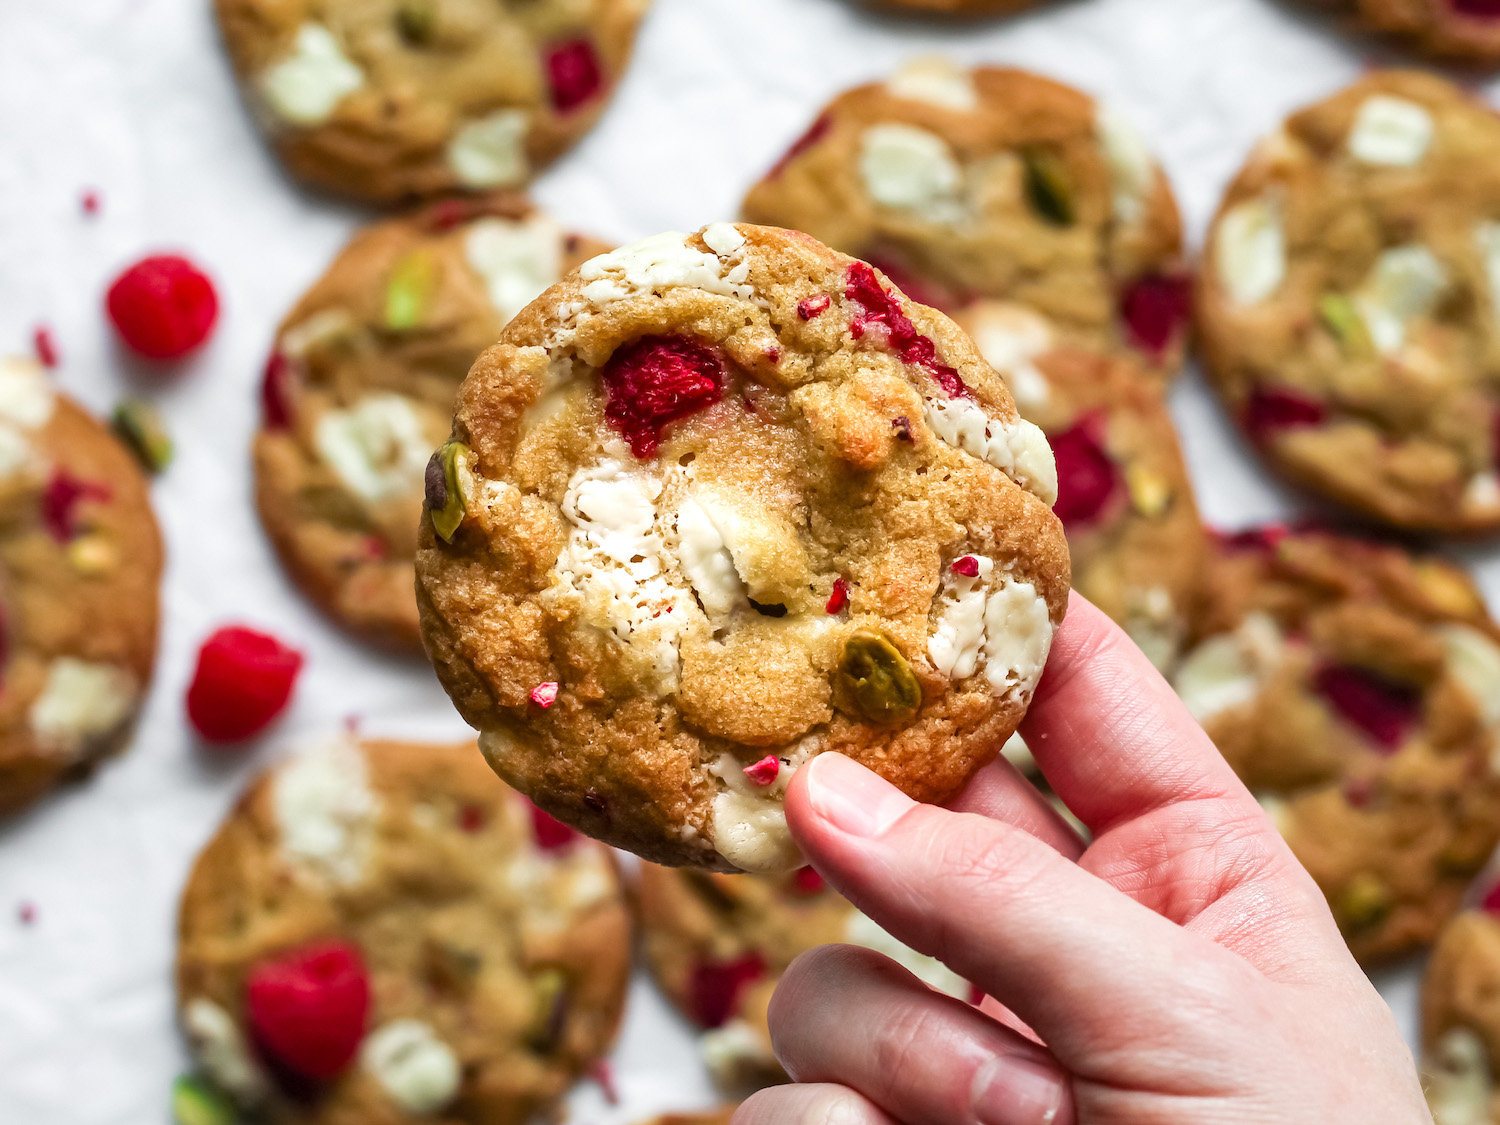
4. When you take the cookies out of the oven, bang the tray on a hard surface a couple times. This will knock out some air and give the cookies their signature crackle. If you don’t want the crackle, take the baking soda out of the recipe to prevent the cookies rising in the oven.
5. Don’t mix any of the fresh raspberries into the batter into itself. Raspberries contain a lot of moisture and they will quickly make your batter soggy. Stick a few halves or quarters of fresh raspberries onto the cookie dough before you bake it instead to get the perfect look and taste!
6. Use a large circular cookie cutter to round out the shape of the cookies once they come out of the oven. This is how everyone gets perfectly circular cookies!
7. I use a mix of light brown sugar and regular caster sugar for my cookies. Any variation of brown sugar is welcome here because it adds a touch of that molasses flavour to the cookies. A cookie with a lot of sweet elements welcomes any flavour note that cuts through the sweetness like the bitter smokiness of molasses. If you don’t have brown sugar you can use 100% white sugar for this recipe (just make sure it’s vegan – USA I’m looking at you!)
8. If you forgot to leave your vegan butter to warm to room temperature, put it in the microwave and blast it for 5-10 seconds at a time for 2-3 times and it should soften up. Be careful not to melt it though!
9. These cookies are best eaten on the day as the fresh raspberries will start to spread moisture into the rest of the cookie and soften them over time. If you need the cookies to last a little longer I might suggest only use freeze dried raspberries!
This recipe yields 14 – 16 cookies depending on the size you make them! I like bigger cookies (~60g per piece) so I made 14 for this recipe!
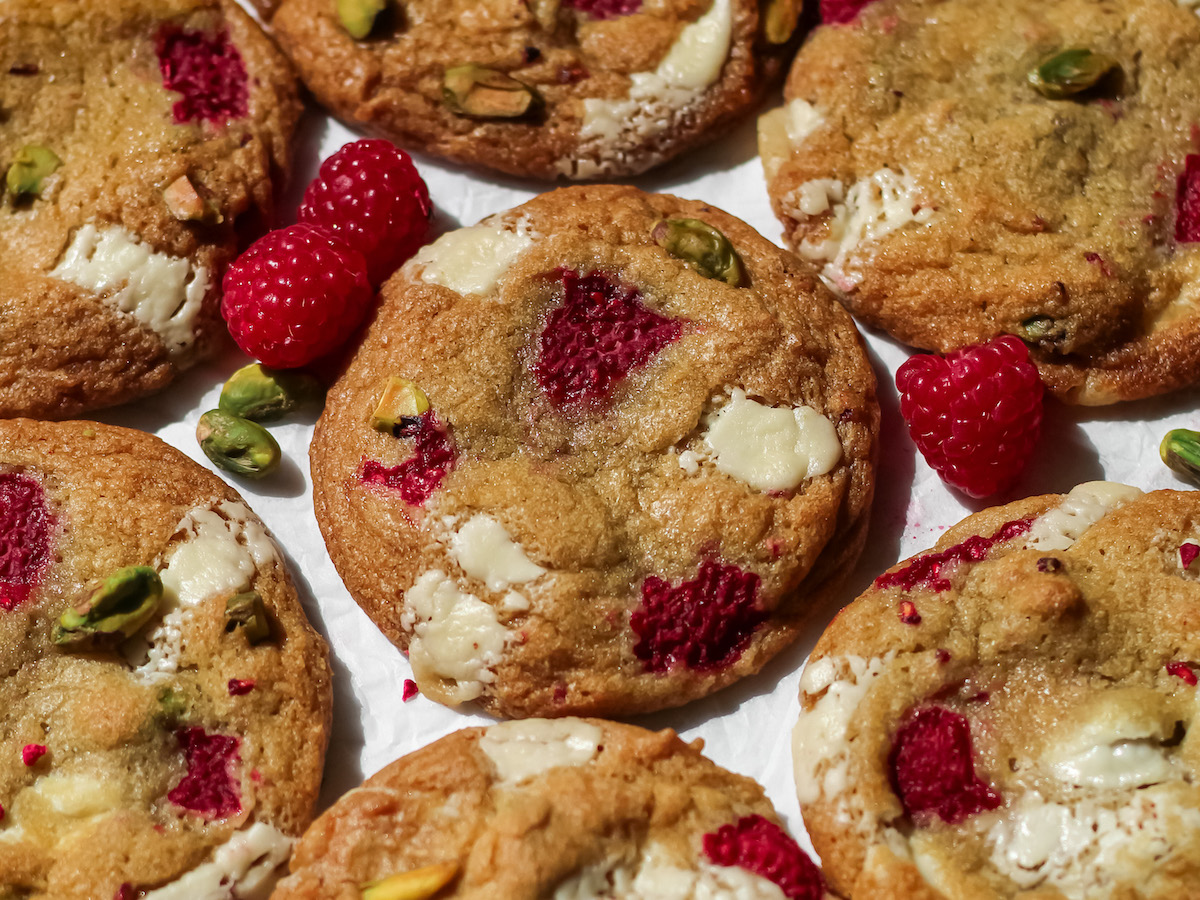
For the white chocolate, I use Sainsbury’s or Tesco’s “free from” white chocolate which is surprisingly tasty for being a no brand cheap chocolate!
This recipe calls for “freeze-dried raspberry pieces” which is a fairly standard ingredient here in the UK but if you’re outside the UK it looks like this:

If you don’t have access to this, you can use regular dried raspberries and crush them up yourself!
White Chocolate and Raspberry Cookies
Thick, chewy and delicious yet perfectly simple - these vegan white chocolate and raspberry cookies might be your new favourite cookie recipe!

Ingredients
- 280g plain flour
- 120g caster sugar
- 100g light brown sugar
- 130g vegan block butter, room temp
- 60ml non-dairy milk
- 2 tsp vanilla extract
- ½ tsp baking soda
- 1/2 tsp sea salt
- 120g white chocolate, chopped (or chocolate chips)
- 50g sliced pistachios (optional)
- 50g fresh raspberries, chopped
- 15g freeze dried raspberry pieces
Directions
- Step 1 Pre-heat oven to 180C (356F) and line a baking tray with parchment paper.
- Step 2 If using pistachios, toast them on a tray for 6-8 minutes in the oven. Allow them to cool afterwards.
- Step 3 Cream together the room temperature butter and both sugars until pale and fluffy. Add in the vanilla and plant milk and cream for a further 2 minutes.
- Step 4 Sift together flour, baking soda and salt. Add this to the wet ingredients. Stir until fully incorporated but be careful not to over mix.
- Step 5 Fold in the white chocolate chunks, freeze dried raspberries and pistachios. Leave some spare to decorate.
- Step 6 Scoop up 40-50g balls of dough and place onto the lined baking sheet. Add the fresh raspberries onto these balls of dough as well as the extra chunks of chocolate and pistachios.
- Step 7 Place the tray into the freezer for 10 minutes.
- Step 8 Take them out of the freezer and into the oven to bake at 180C for 13 minutes. Remove them from the oven and set aside to chill for 10 minutes. Serve!


These are lovely. I took some to a family do and they got the thumbs up from everyone who had one – all non vegans.
Did you flatten the dough balls before baking?
Hi Georgia! No I didn’t! They are meant to be fairly chunky. If you want them to spread more then either use less flour (20-30g) or more butter (10-20g). Good luck!